This tutorial will teach you how to make a live object and make a neat model with it.
Set-up
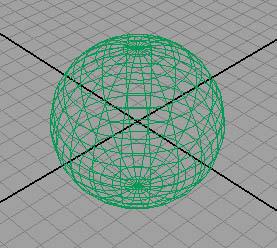
Create a sphere (create>polygonal primitives>sphere).
Live Objects
When an object is defined as a live object, all objects "stick" to it; kind of like the grid. Live objects can be NURBS surfaces, polygons, and construction planes. Only one object can be "live" at a time.
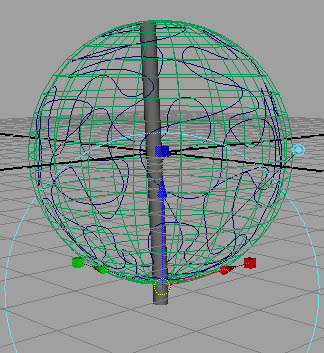
Step one - Select your sphere and go to modify>make live. Its surface will turn to a green wireframe.
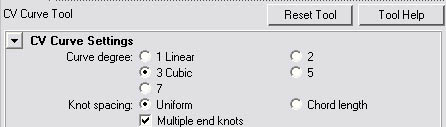
Step two - Go to create>CV curve tool... Click on the options box to open the tool settings.
Step three - Set the curve degree to 3 cubic.
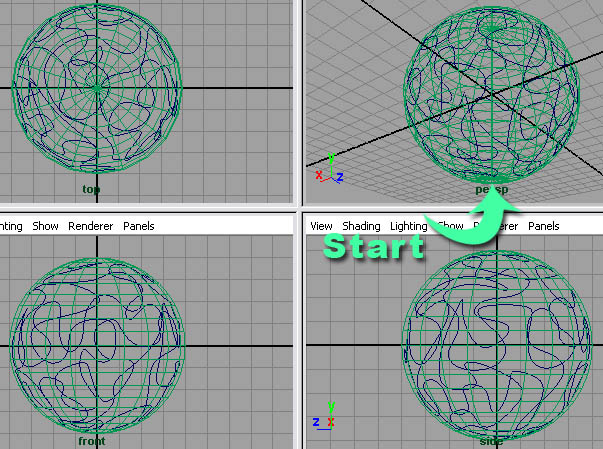
Step four - It's important to make this one continuous curve. Start at the bottom of the sphere and create random, somewhat smooth, squiggly lines on the sphere. Make sure you create the points close together to make sure it follows the sphere's surface.
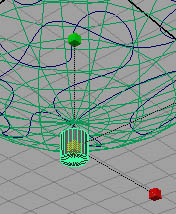
Step five - Create a cylinder, scale it small, and stick it underneath the sphere.
Step six - We need to extrude the cylinder along the curve. Select the faces on the top of the sphere and then select the curve and go to edit mesh>extrude. For help on the extrude tool, read this tutorial. Link
Step seven - It's not following the curve, so select the new geometry and go to window>attributes editor. Go to the tab polyExtrudeFace1.
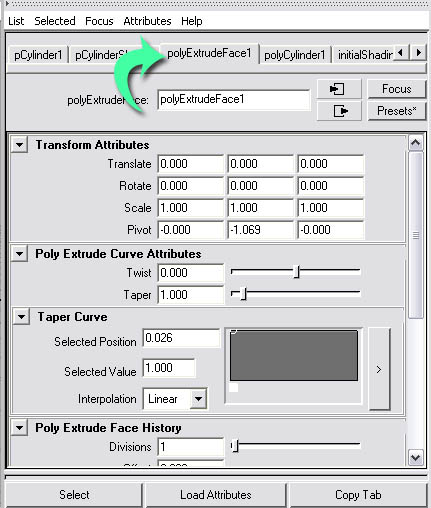
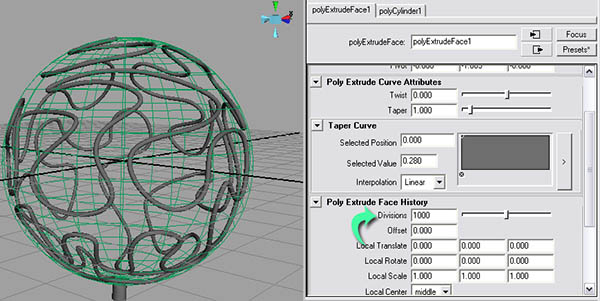
Step eight - Go to poly extrude face history and set the divisions to 1000. If your lines are tighter, you may need more.
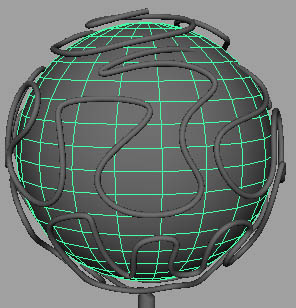
Step nine - Go to window>outliner. Select pSphere1 and delete it. This was our live object.
Step ten - Create another sphere. Scale it smaller so it fits inside the frame.
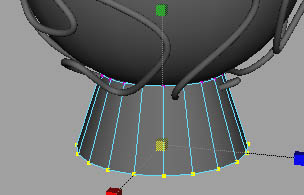
Step eleven - Create another cylinder and put it on the base.
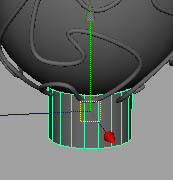
Step twelve - Go to vertex mode, select the vertices, and scale the base outwards.
Now add materials. I went with, for the base and frame, a black colored blinn and, for the globe, I used a blue colored blinn.
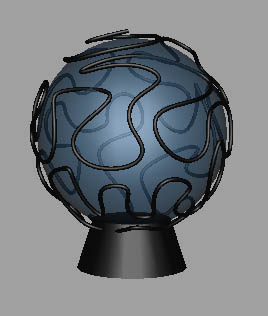
Or you can go with an occlusion rendering (occlsuion tutorial here Link).

Really, you can go with anything you want. Hope this taught you something, good luck.

0 commentaires:
Enregistrer un commentaire