Step 1
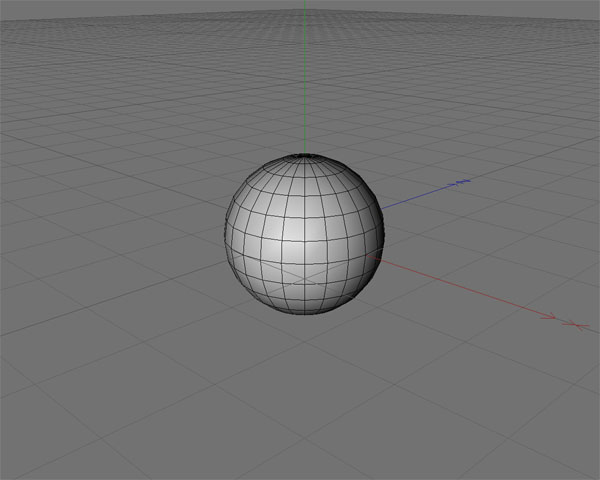
For this tutorial I want you to start with a sphere object.
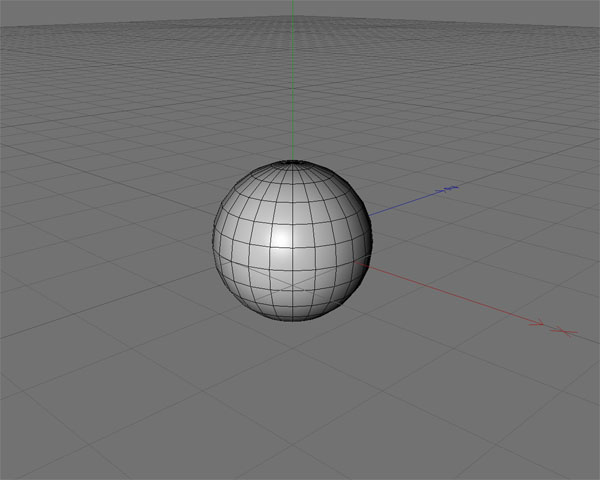
Step 2
Change object type from Standard to Hexahedron.
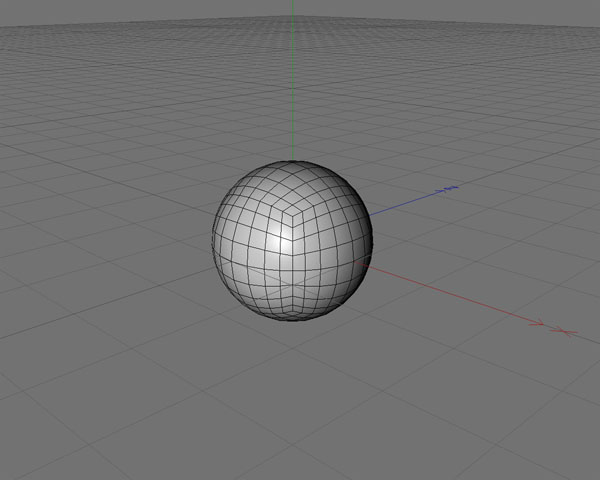
Step 3
Change segments to 12.

Step 4
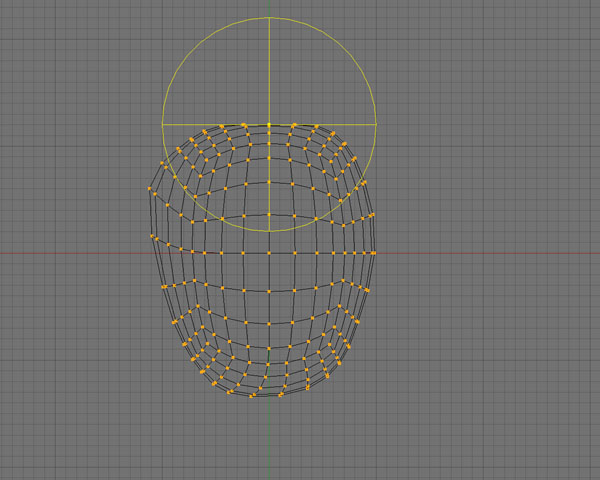
Add a mirror object to the object manager and put the sphere into it. Move it a bit aside and do a a small rotation in X direction.
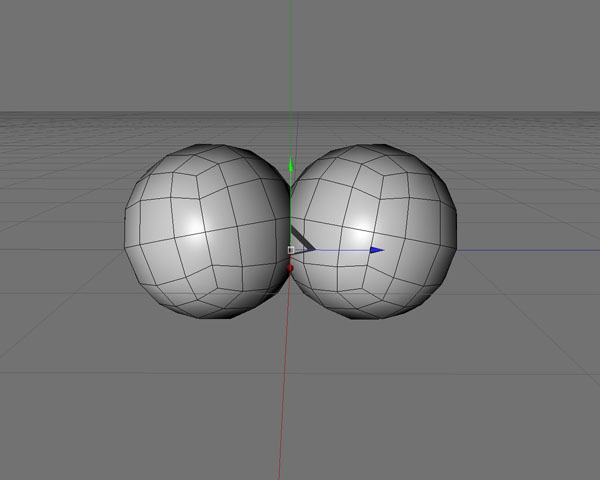
Step 5
Create a new sphere object, change object type again to Hexahedron with a subdivision of 16.
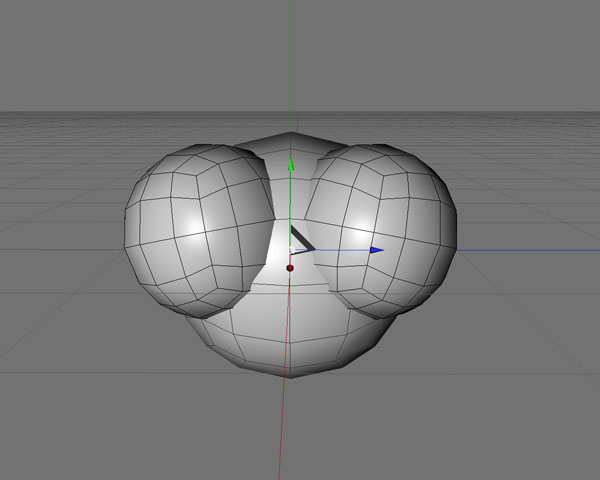
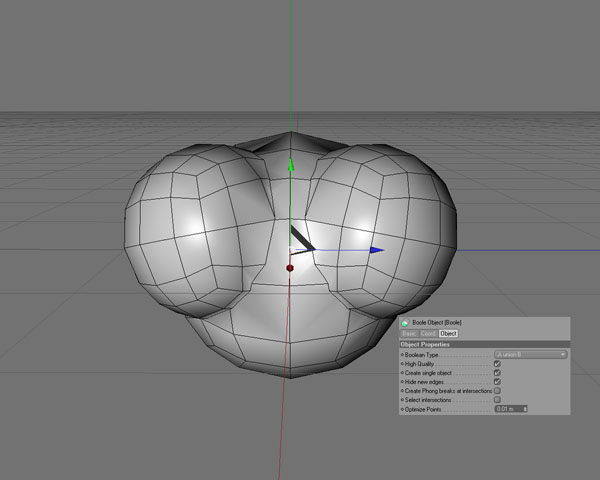
Step 6
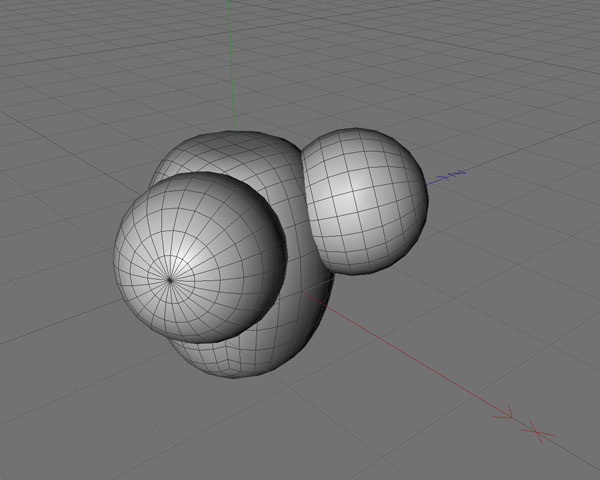
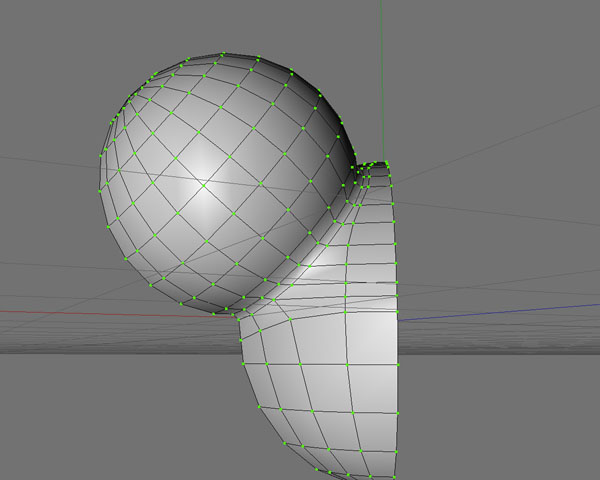
Use the boole object in A union B mode. Have 'Create single object' and 'Hide new edges' active.
Step 7
Convert it to a polygonal object (shortcut c).
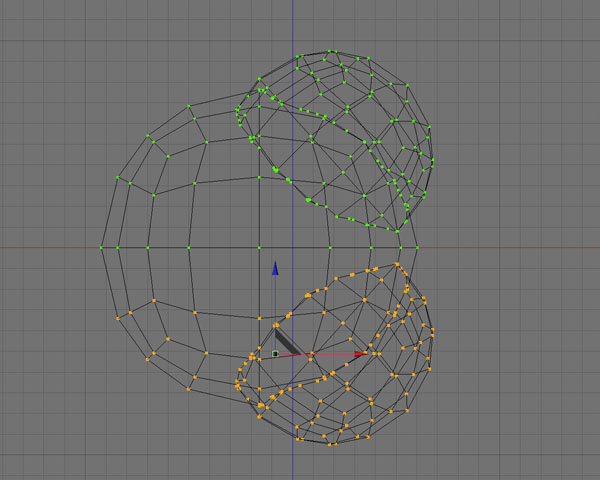
Step 8
Delete one part of it. It's not necessarily needed to optimize both sides.
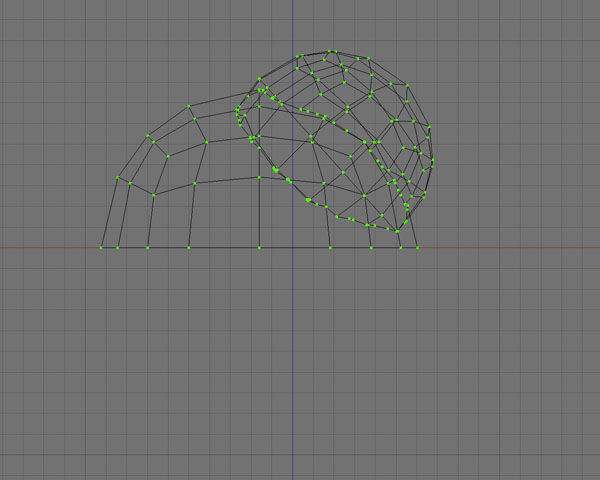
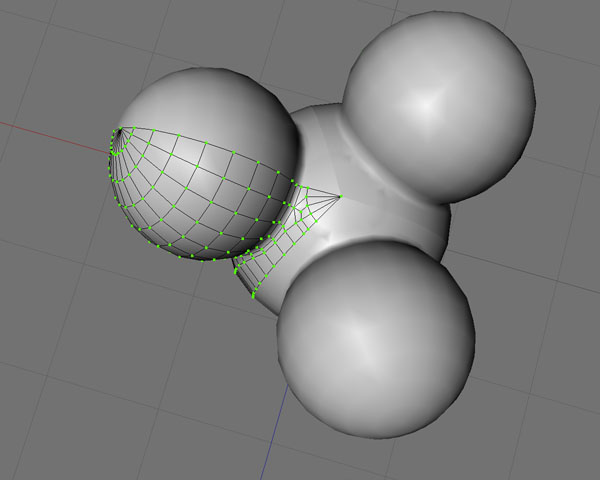
Step 9
Optimize your mesh and get rid of all the junky points. Add a small edge bevel to the conjunction of both objects.
Step 10
Put the new clean object into a Mirror Object and convert it again to a polygonal object.

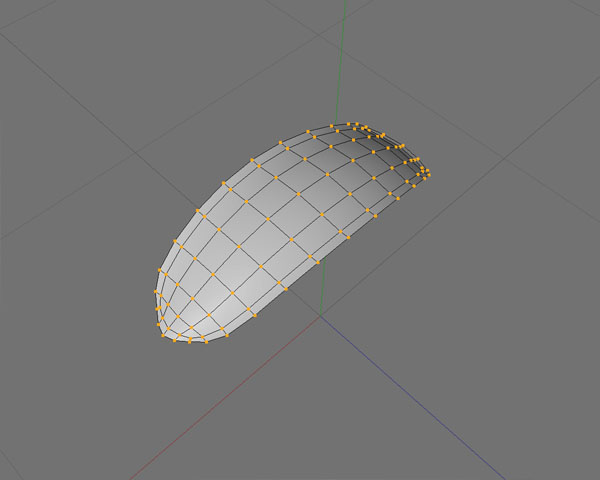
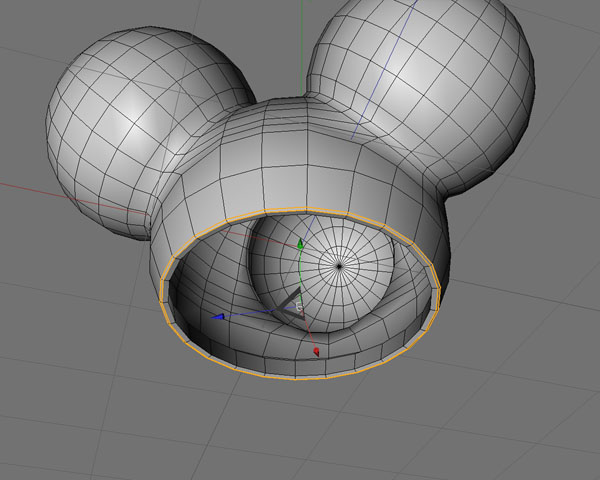
Step 11
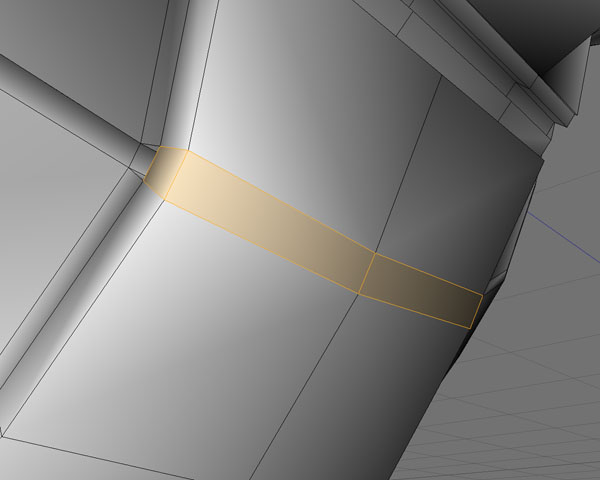
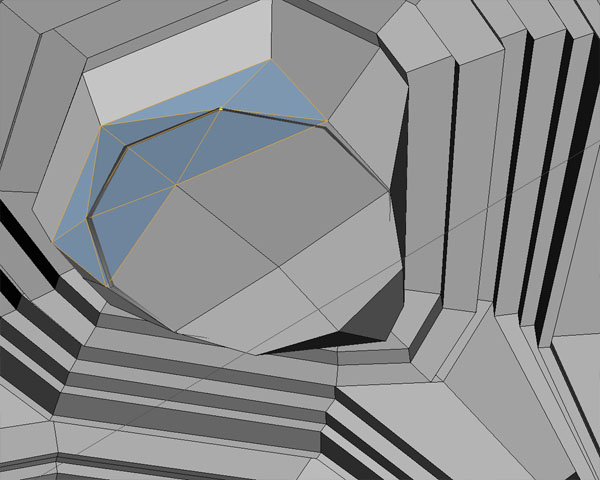
Select some of the polygons from the top of your object like you can see here and use 'Extrude Inner'.
Step 12
Extrude it a bit to the center and bevel new created edges.
Step 13
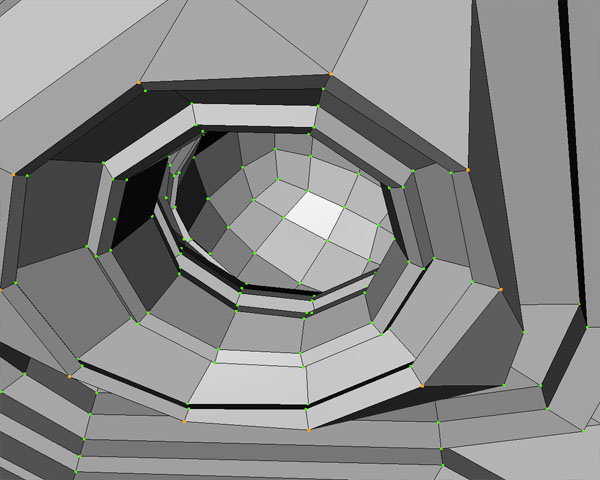
Select again some of the new polygons and do the same as before.
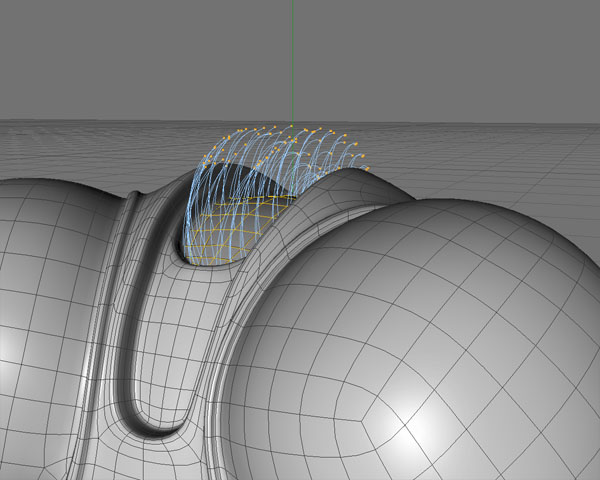
Step 14
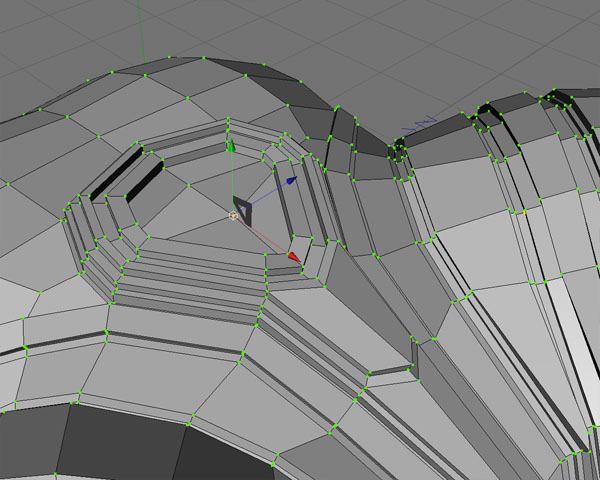
Now we create the mouth part. Add some point to those two selected polygons.
Step 15
Extrude them to the center and bevel edges, then do another extrude step back to the original position.
Step 16
Select on the backside of your head object those polygons and...
Step 17
... create the ears with the 'Extrude' and 'Extrude Inner' function.
Step 18
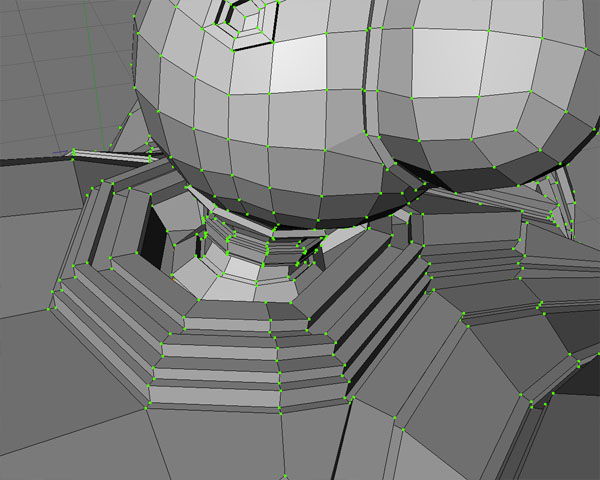
Do an extrusion around your eyes.
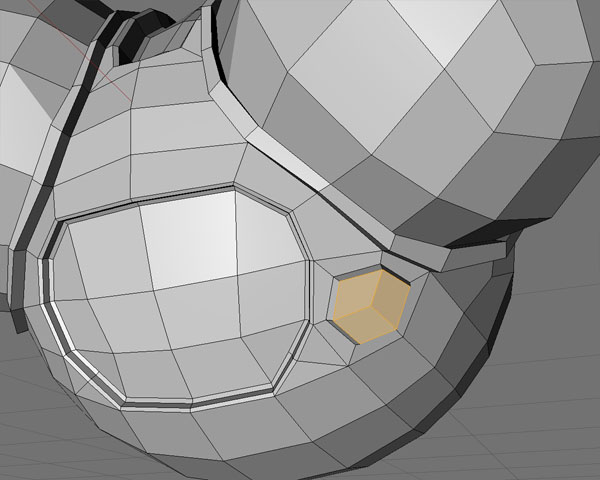
Step 19
On one side, use those selected polygons to create something like a wart.
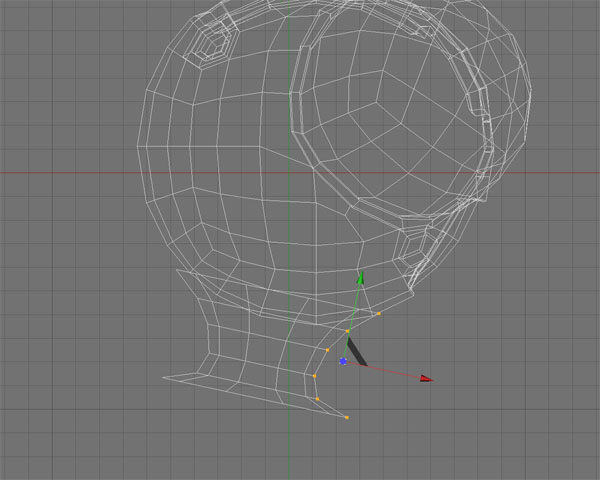
Step 20
In this step we create a neck. Draw in linear spline mode a spline containing as few as possible spline points.
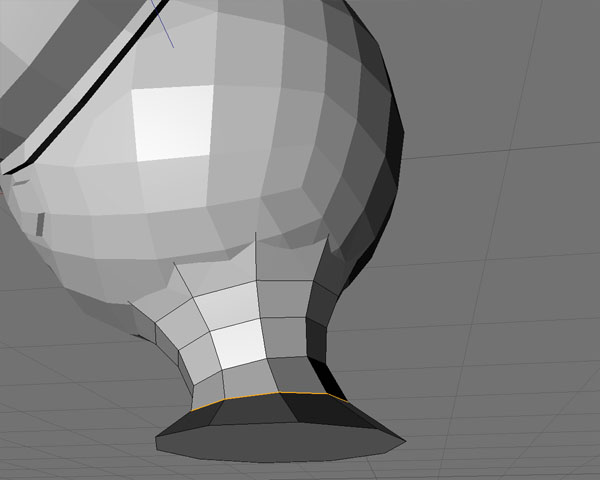
Step 21
Put it underneath a Lathe NURBs object and convert it. Make sure that caps are closed. We need this for next step.
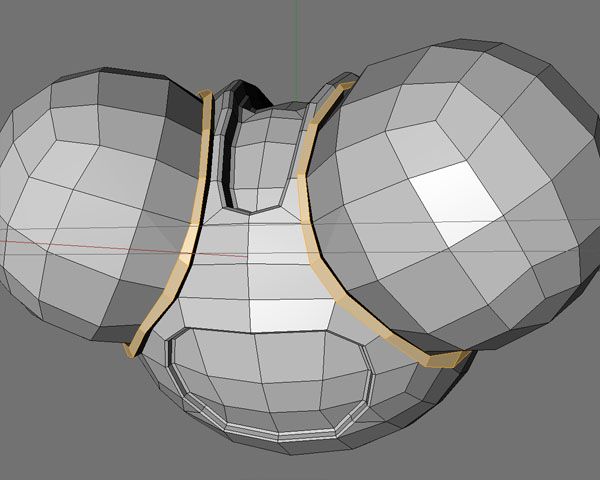
Step 22
Create a boolean object and use the union function to connect the head with the neck object. Clean up unused points and polygons so that you get an object just containing quadrangles.
Step 23
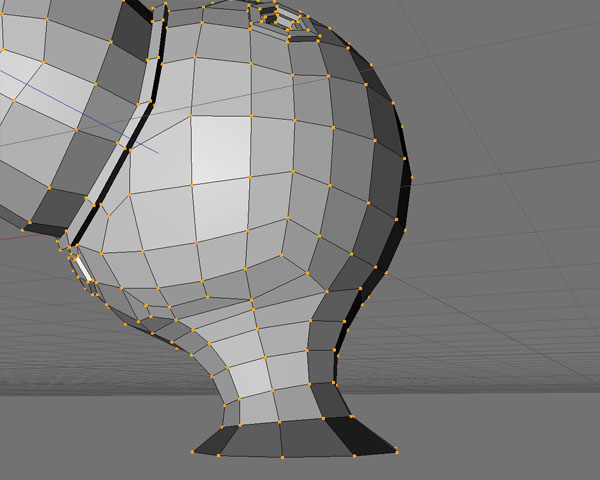
Next we add some detail to the neck.
Step 24
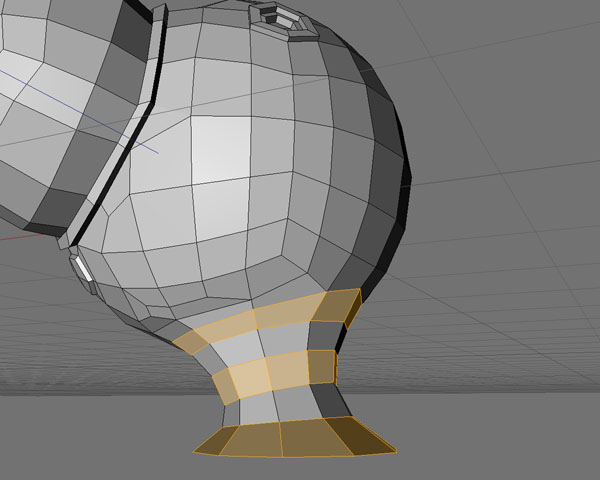
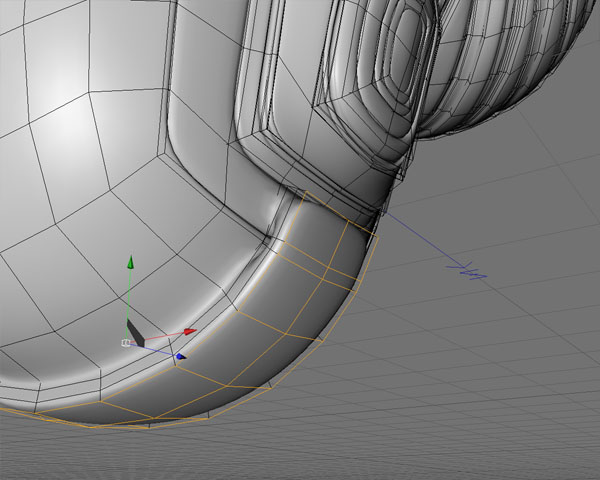
Use 'Loop Selection' to select the polygons and use 'Extrude Inner'.

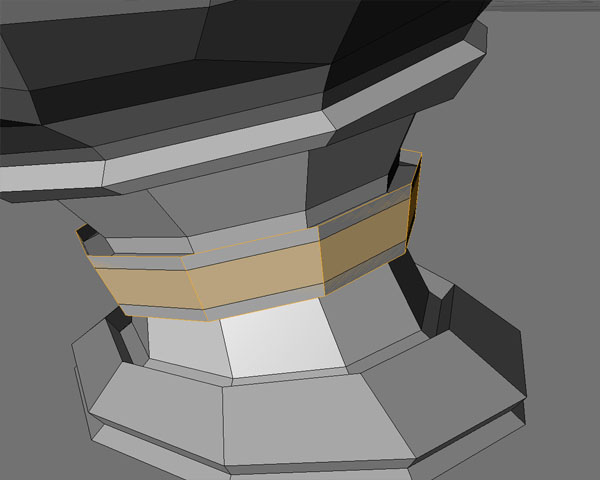
Step 25
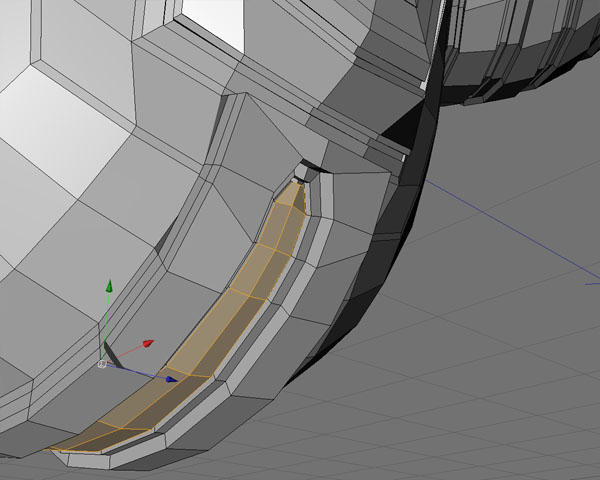
Extrude them.
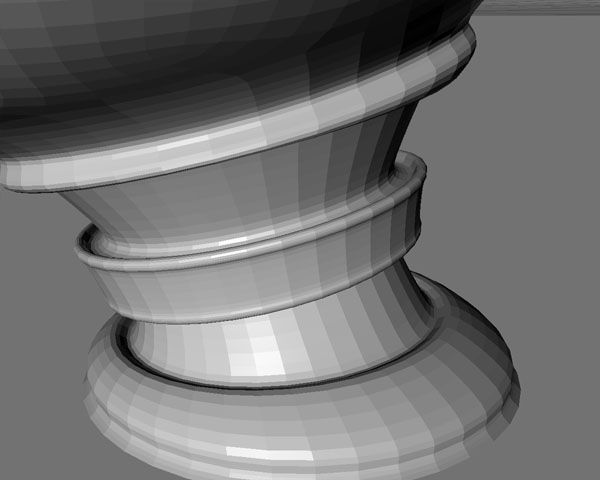
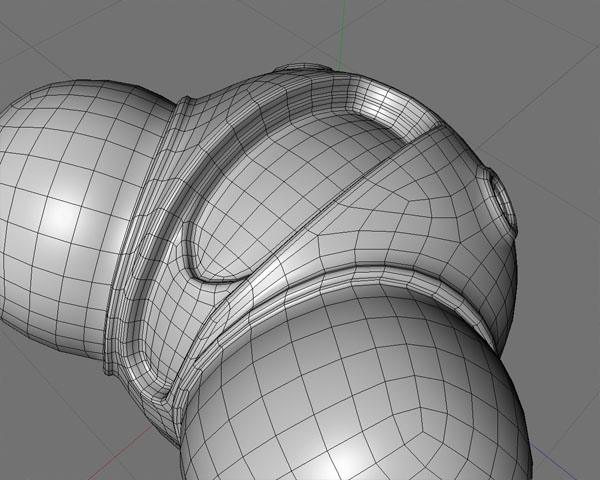
Step 26
Put the object in a Hyper NURBs object to get a result like this.
Step 27
Make sure that the connection point of the prior mirror object conversion is really connected at Null position.
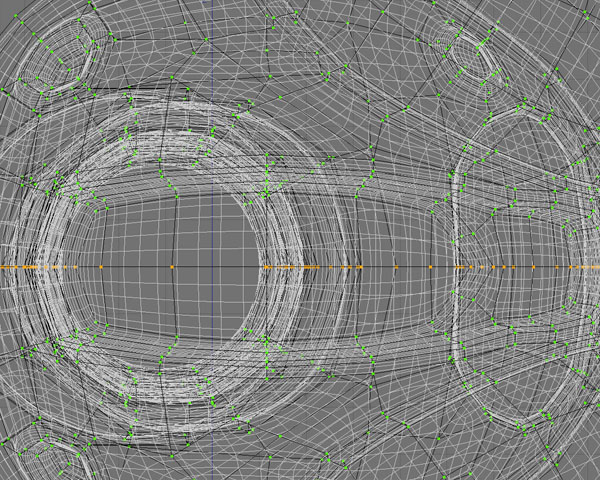
Step 28
The subdivided result should now look like this.
Step 29
Now we create the hair. Copy the Hyper NURBs object and convert it to a polygon object. Select the parts where you want see hair growing.
Step 30
Add a hair object from the context menu. Scale and comp it until you get what you want.
Step 31
In this case I changed the tip color of our automatically created hair material to pink.
Save object.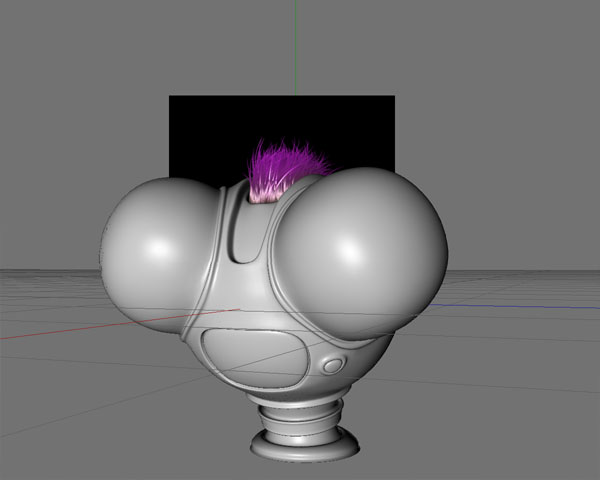
Step 32
In Step 32 we are start again with a simple sphere to build the body of our tough lady.
Step 33
Change it to Hexahedron type. Segments are standard this time = 24.

Step 34
Convert it and use the Magnet tool to bring points in position.
Step 35
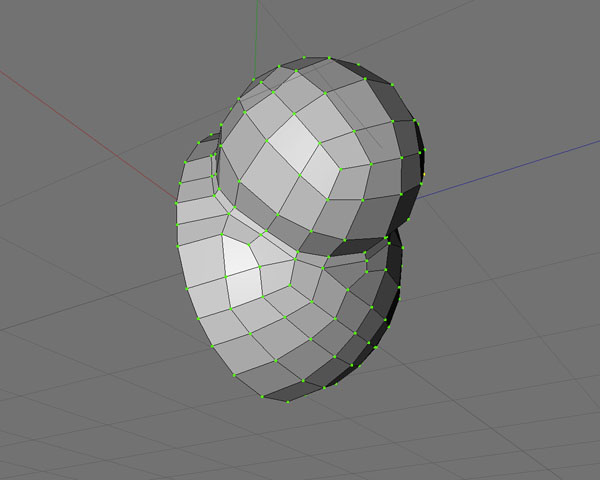
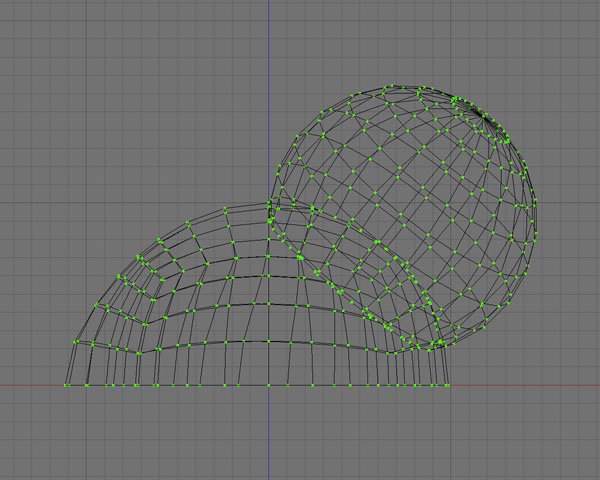
Add another sphere object for the "globes". All settings are standard here.
Step 36
Get rid of one half of your object for symmetry reasons.
Step 37
Clean up points and polygons to get a clean object.
Step 38
Bring front polygons into a better looking position.
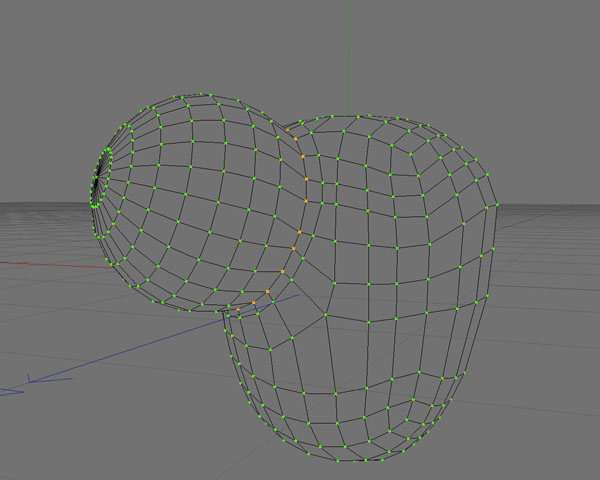
Step 39
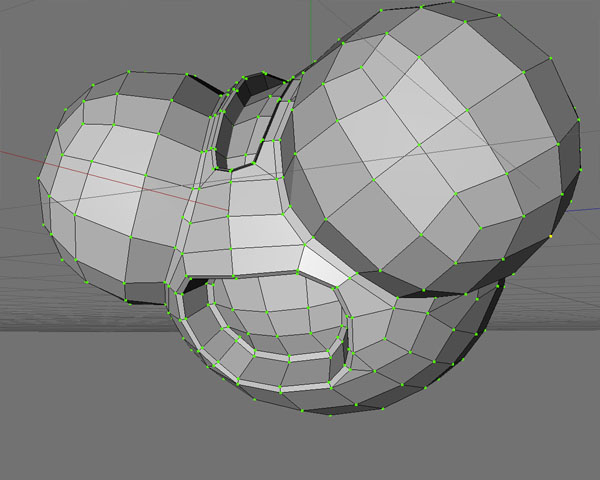
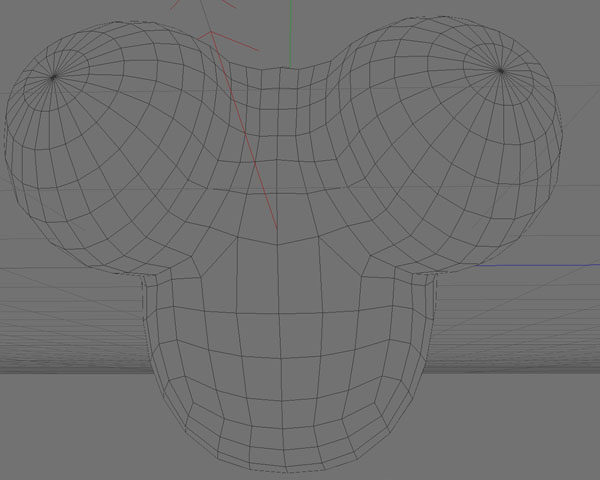
Time for the Symmetry object!
Step 40
It should look now like this.
Step 41
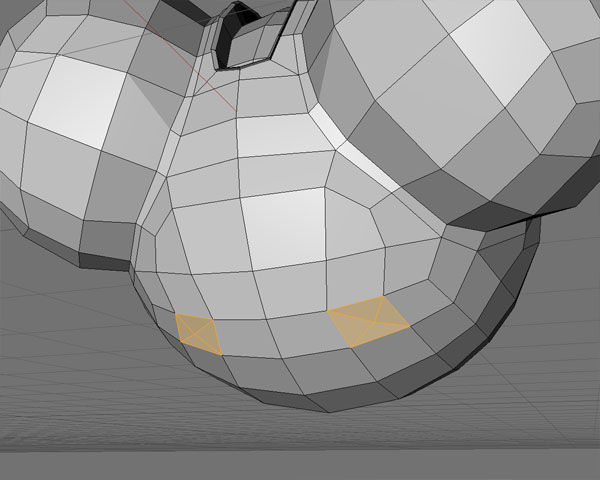
Select polygons from the front...
Step 42
...and the back side.

Step 43
Use the 'Extrude Inner' function.
Step 44
Now Loop Selection to select polygons to get extruded right now.

Step 45
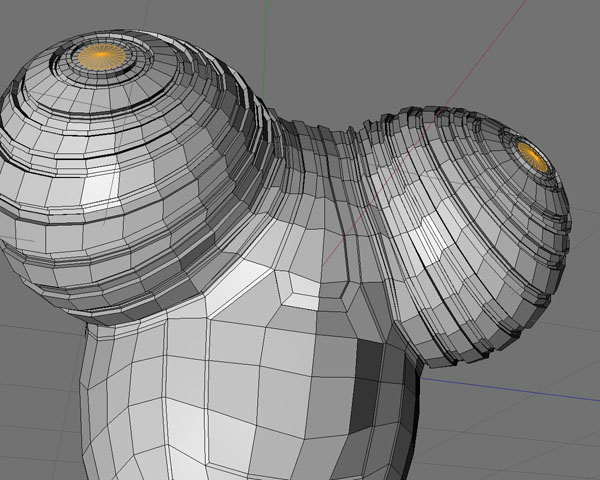
Inner extrude them again to get sharper edges for the Hyper NURBs object.
Step 46
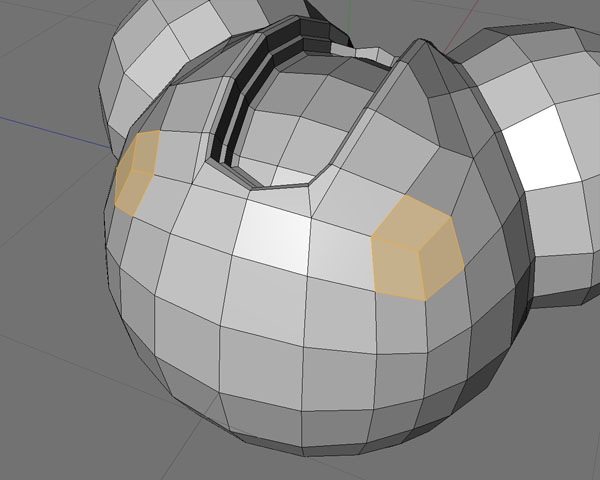
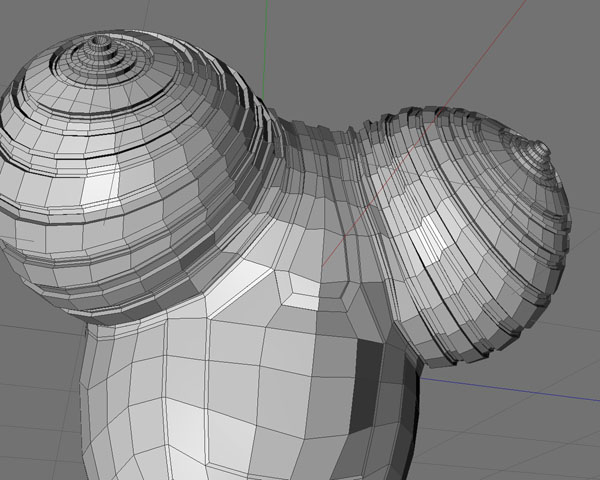
Move polygons of our "globes" more into a direct front position and use 'Loop Selection' like you see here.
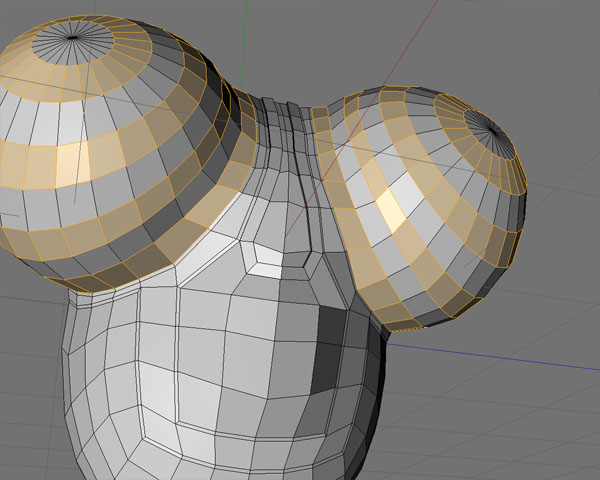
Step 47
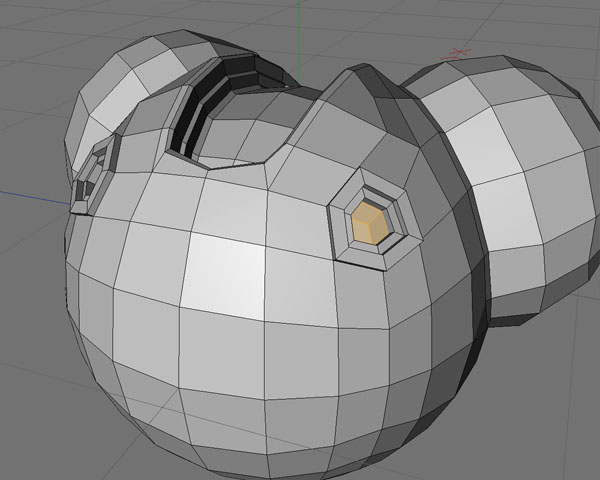
Do some more extruding...
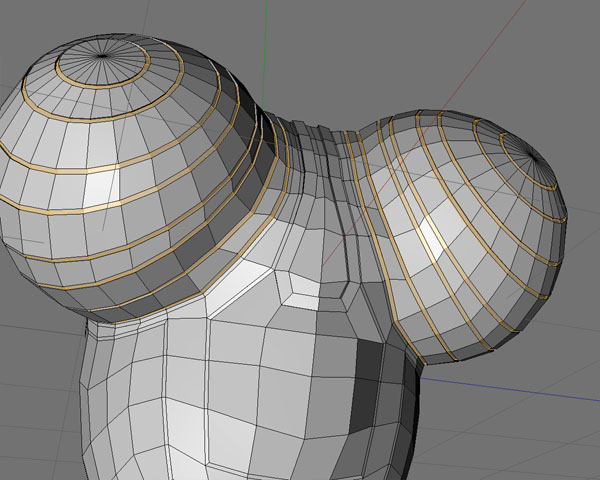
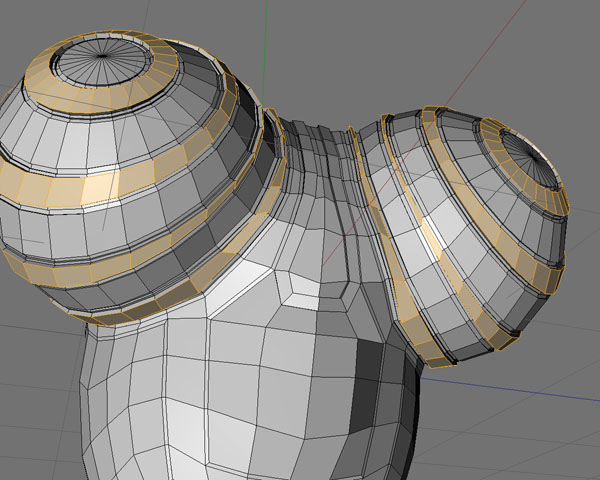
Step 48
...and 'Extrude Inner' steps.
Step 49
Step 50
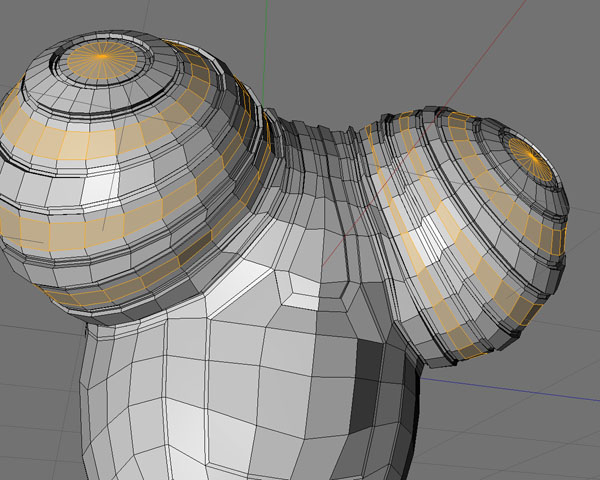
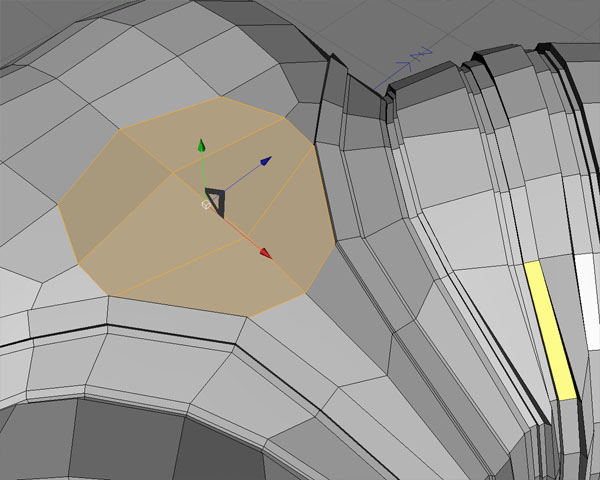
Select the chest area.
Step 51
Add some more detail to it using our modeling tools.
Step 52
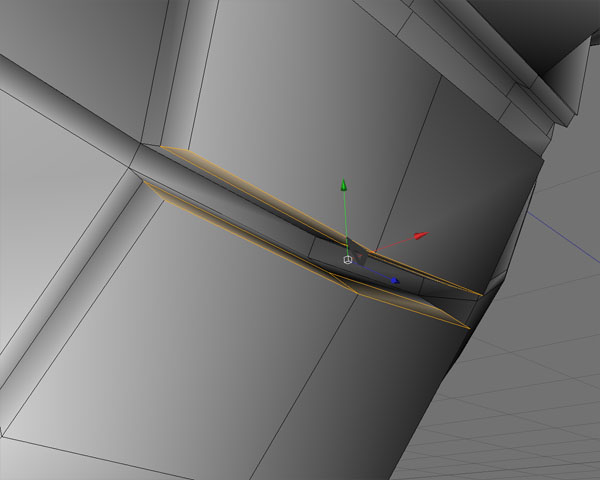
Turn your object around and select these polygons.

Step 53
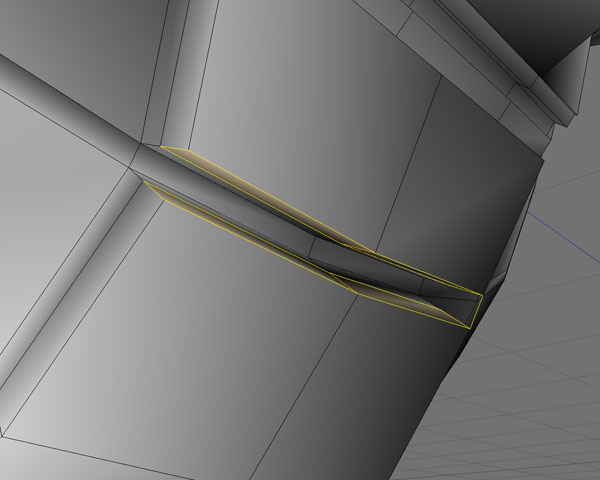
Extrude them. We've created a gap between the extrude polygons.
Step 54
Select the opposite polygons and use the 'Bridge Function' from right-click menu.
Step 55
You will create this:
Step 56
Extrude the new polygons again...
Step 57
... and use all the previously described modeling tools to get something like this:
Step 58
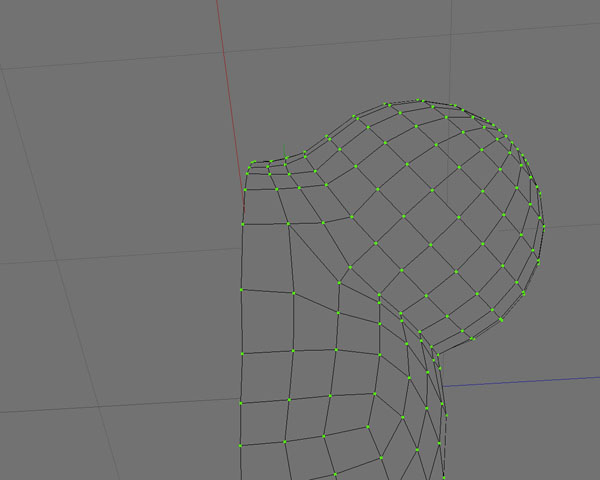
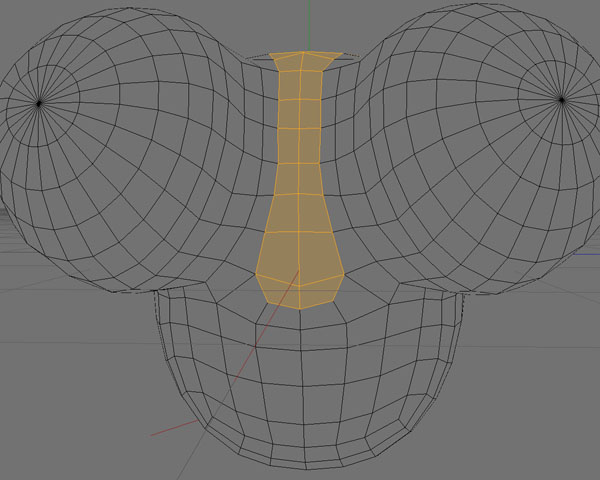
We will add now our head object to the body. Turn your object around again to get it into a topmost position.
Step 59
Repeat the modeling process to create the 'adapter'.
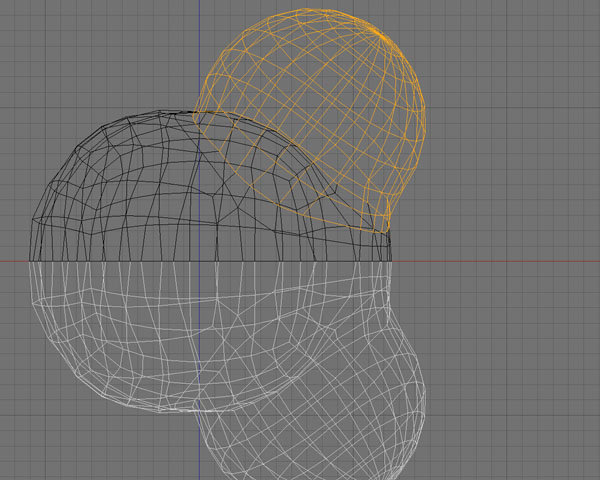
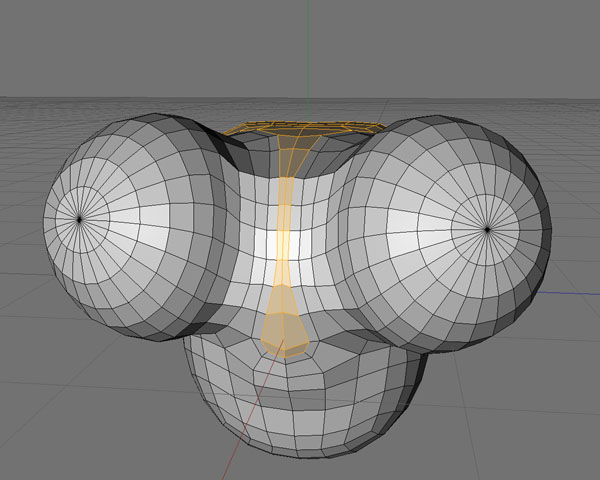
Step 60
Add the head object and bring it into the correct position to overlap the body object slightly. You may need to add some more points so you can connect the parts together correctly.
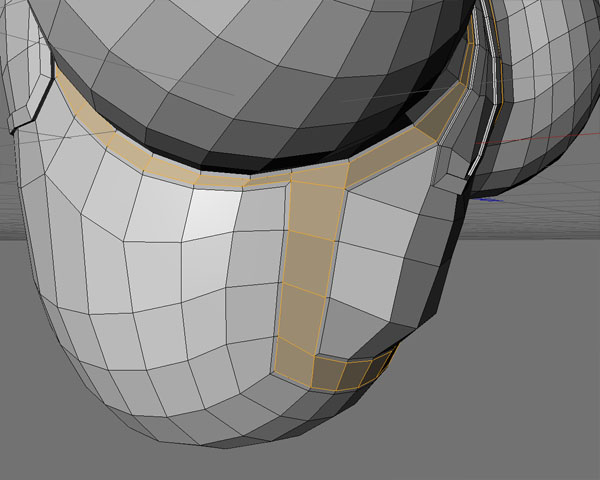
Step 61
Connect both objects together with the 'Stitch and Sew' function.
Step 62
Step 63
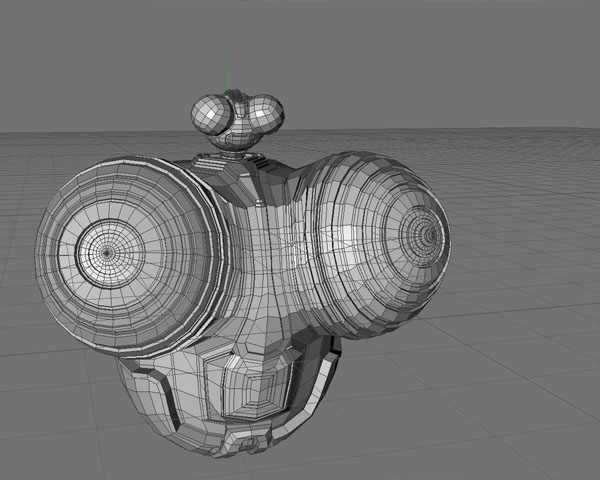
Here we are. The arms and legs are still missing. I did add some more detail on the front.
Step 64
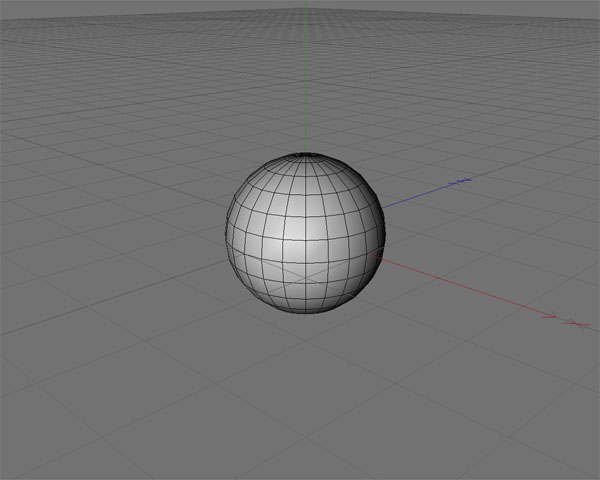
Let's create the hands. For this we need to create another standard sphere object.
Step 65
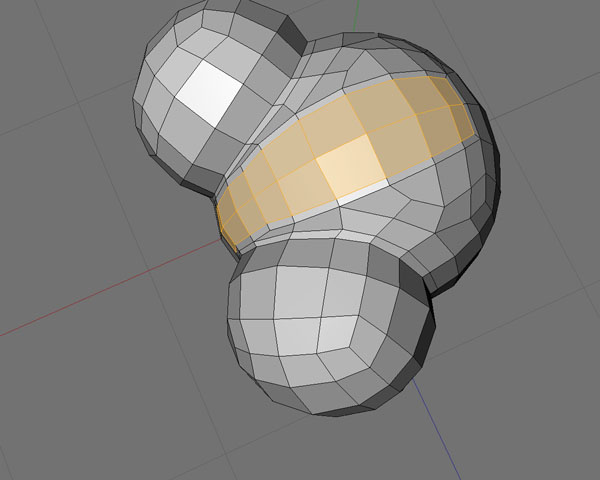
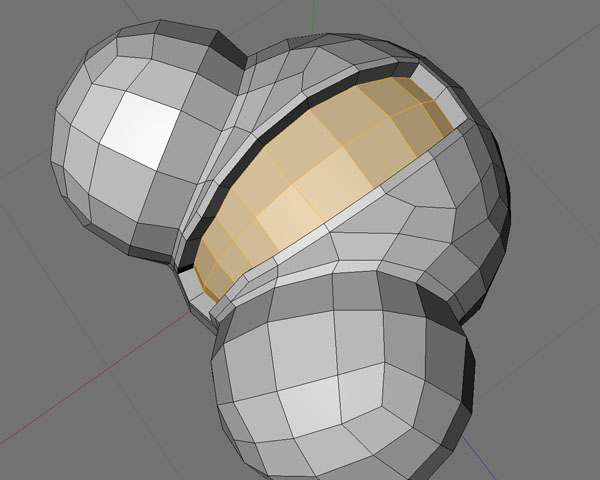
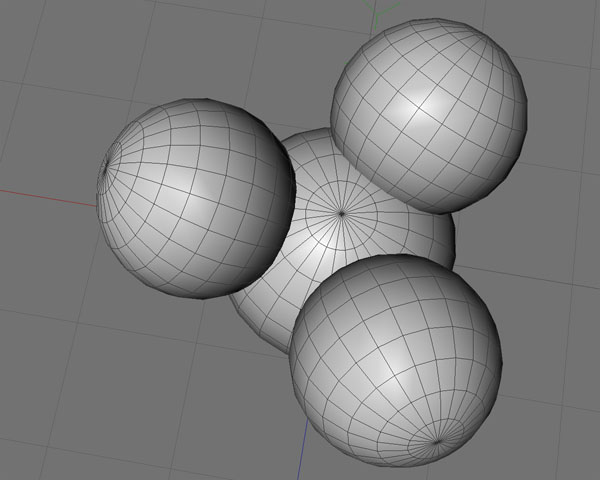
Rotate them round in 120° steps so that you have three identical objects. Create another sphere object in the world center.
Step 66
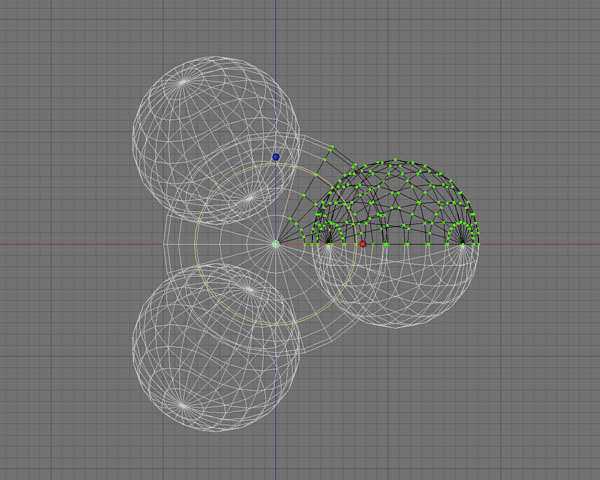
Delete all unnecessary parts and put your object into a 'Symmetry Object'. Create three Instance Objects in more 120° angle steps.
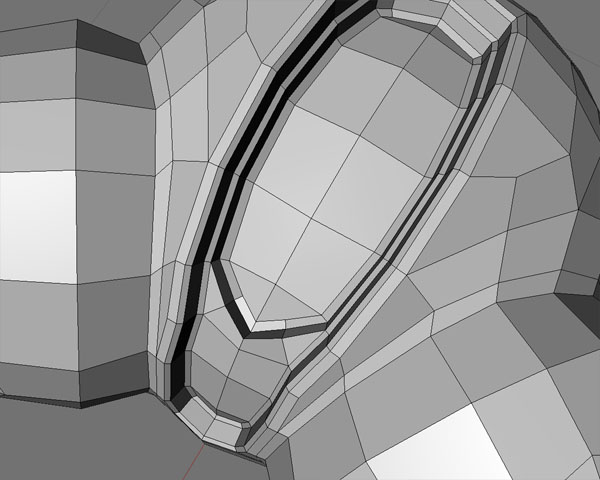
Step 67
Clean up points and polygons and add an edge bevel to the connection polygons.
Step 68
Step 69
Delete the upper part of your center sphere object and create some polygons in the center that it will look thicker.
Step 70
Add some more details to the hand.

Step 71
If you put it underneath a Hyper NURBs object it will look like this.

Step 72
We start with the arm. Create another standard Sphere Object.
Step 73
Delete some top polygons.
Step 74
Extrude some more.
Step 75
Go to 2.5 D Snapping Mode (shortcut p) to bring the object axis to the object's top position.
Step 76
Add a Symmetry object. Hold down the Alt key while keeping the original object active will automatically put this object underneath the Symmetry Object.
Step 77
Convert it and switch to Edge Mode. Use bevel to smooth the new object a bit.
Step 78
Increase the size of your upper part. You could use Soft Selection Mode here.
Step 79
Add the hand object to our arm object so that the parts fit together.
Step 80
Add some detail to the joint.
Step 81
Add a Bend Object. Put it under the original object and set up a small angle.
Step 82
Bring the arm and body objects together.
Step 83
Create something like this so you are able to make a smooth connection for the arm.
Step 84
Extrude it to the object center down to Null position. There's no need to create more polygons here because we won't see them.
Step 85
Move to the back side of your object to add a small tail.
Step 86
Step 87
Create a sphere object that will have the size of your later created top leg object properties.
Step 88
Use the Kinfe tool in Linear Mode with having single cut turned off to cut round the Sphere Object.
Step 89
Now delete the Sphere Object and clean up newly created points and polygons for next step.
Step 90
Repeat the process for the arm object.
Step 91
For the legs we just copy the arm object and change just the upper part a bit.
Step 92
Just increase the top part like you see here.
Step 93
For more detail add a torus object...
Step 94
...and convert it to use the Loop Selection in combination with the extrude function.
Step 95
Load and adjust the size and position of your leg objects.
Step 96
Step 97
If you put everything into a Hyper NURBS object everything would become subdivided. To avoid this you can add a Hyper NURBs weight tag and set subdivisions there to 0/0.
Step 98
That's it - you've finished modeling!
Step 99
For the environment, create a big Cylinder with 1000 steps so you won't see any steps inside and are able to place our statue object without having problems.
Step 100
Create a background color you like without specular.
Step 101
It's time for basic lighting. Add a light source in Spot Mode with an area shadow.
Step 102
Create another spot light far away to give some mood to our object.
Step 103
Place another one next to our first light object.
Step 104
Important: if you're not using Global Illumination, add a light object underneath our plane object - in this case the Cylinder. Make sure that shadow is turned of and the light itself isn't very bright.
Step 105
Add some more light sources from every side so your object will be nicely lit.
Step 106
Step 107
Place your object into the scenery.
Step 108
Press the render button.
Step 109
Do some material selections on your object.
Step 110
Make a material with a bright metallic specular and add some noise as you like.
Step 111
I use only one material and change the color slightly.
Step 112
Use the settings in step 112 to 121 as a guide.
Step 113
Step 114
Step 115
Step 116
Step 117
Step 118
Step 119
Step 120
Step 121
Step 122
For a rusty look, create a rust material with an alpha channel so it can overlay on all other materials.
Step 123
Use the steps from 123 - 125 as a guide.
Step 124
Step 125
Step 126
Exchange the selection materials with your materials. Add a white glowing material and a red material with a luminace channel to your material set.
Step 127
Your hierarchy could look like this. Now set up save file path, image size and render.
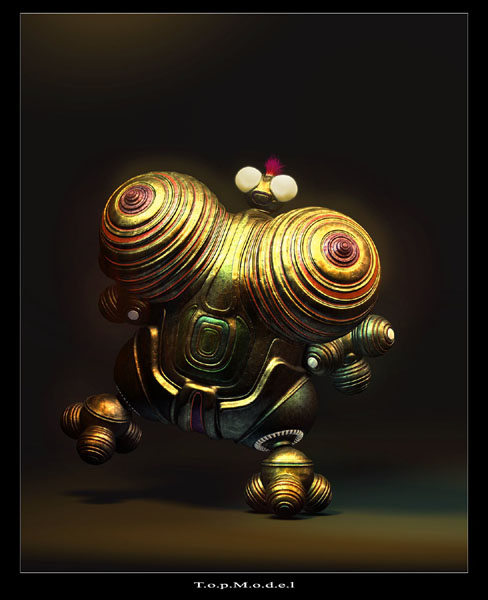
Conclusion
I hope you had some fun with the tutorial. Here's my result.
Final Product

0 commentaires:
Enregistrer un commentaire