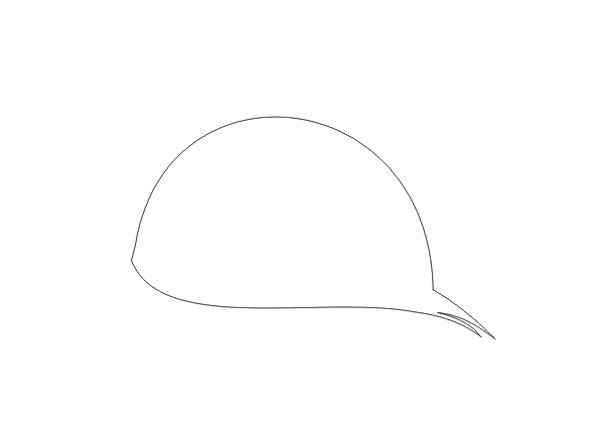
Step 1
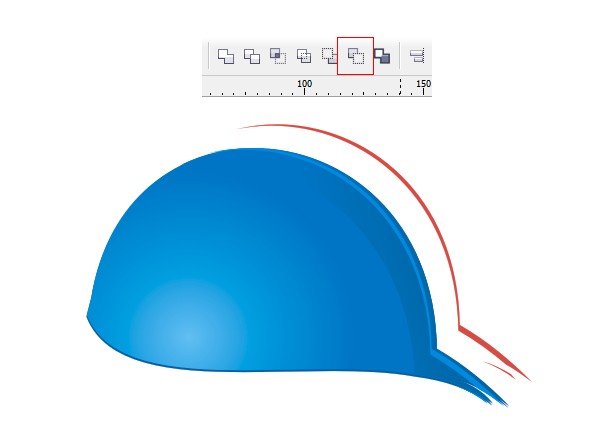
Create new document, whatever size. A4 is fine. Draw the shape of the bird's body using the Free Hand Tool and make it nice with the Shape Tool. This part requires a bit of creativity :)
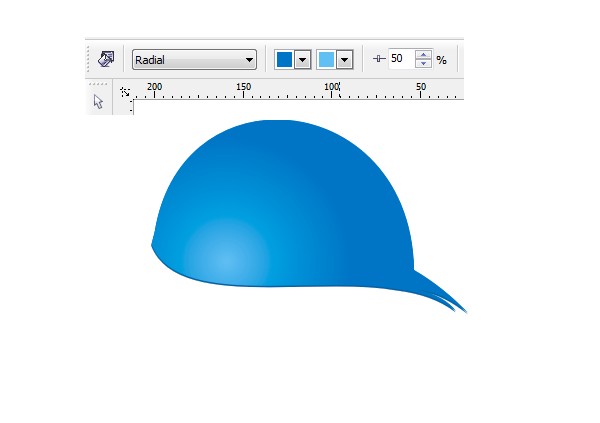
Step 2
Color the shape blue. Then Copy the shape and paste in the same place. Now using the Up Arrow key, move the second shape 4 pixels up. And then change the color of the second shape to a lighter blue. For better a effect use the Radial Gradient Fill Tool with a lighter to darker blue. Still the first shape should be darker to get that dark line at the bottom.
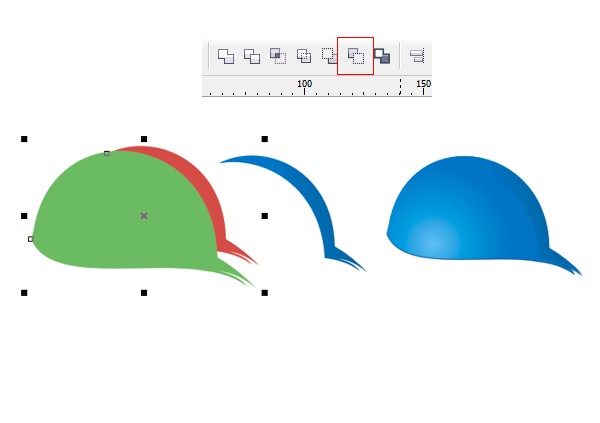
Step 3
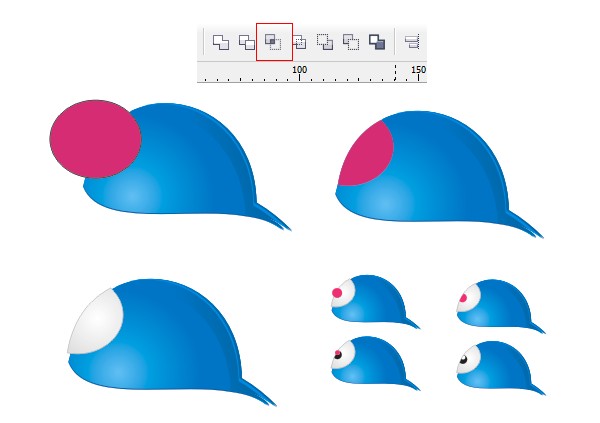
Copy the shape and place it in the white area. Copy it again and paste it. Then make it a bit larger and put it over the smaller one (green on pink example). Using the Back Minus Front option Cut the shape off. Then change it to blue (or use the gradient that we did in last step). And place it on our main shape.
Step 4
Do the same again but cut a smaller, thiner part. Those steps are needed to add some light effects, which make it more 3D.
Step 5
This step uses only one simple option: Intersect (marked by red box, shown below). Just as in the steps above, select two object and Intersect. You will get the shape that both object share.
This technique is an easy way to get shapes that you want in many other situations. In the picture below, notice that we used circles on the main shape, then the eye, then the eyeball, etc. Be sure to apply a radial fill to the eye as shown above.
Step 6
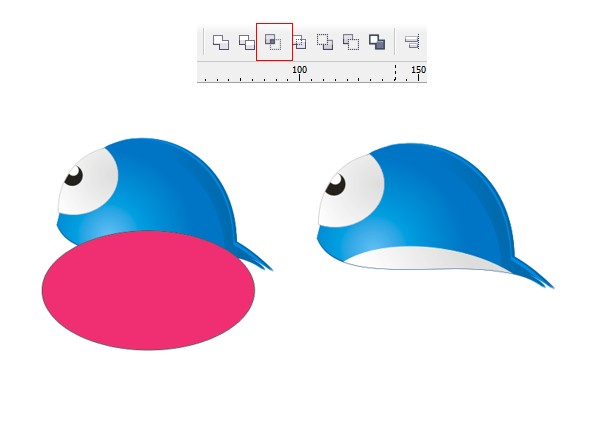
Do the same thing again. This time create the bottom part of the bird (that's the way birds are built, a white patch makes the bird look more real).
Step 7
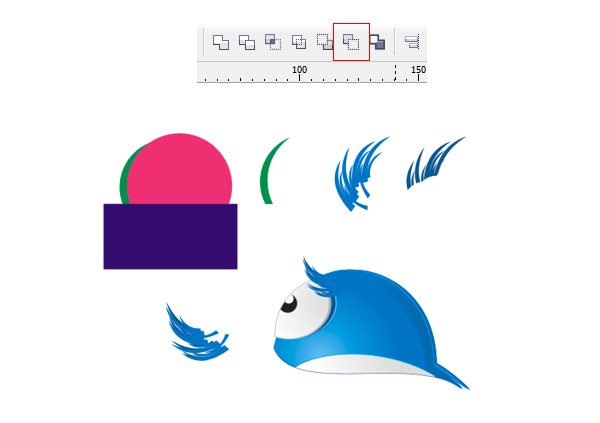
Coming back to using the Back Minus Front option. Cut off the shape of the first eyelash. Than copy, paste, resize, and rotate to put them together. Now copy the whole thing and paste in place, change to a darker blue, rotate a bit, and move it to the back. Lastly, group it and place it on the bird.
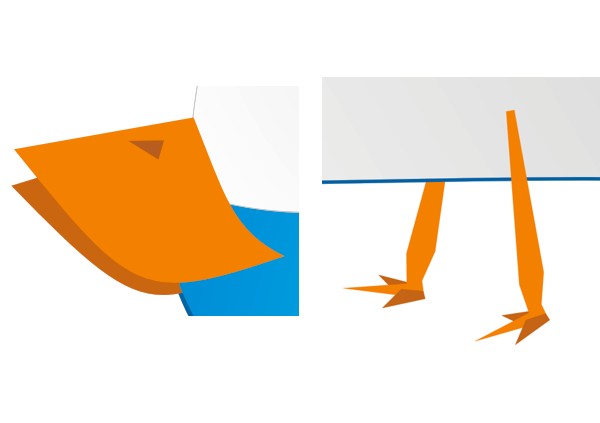
Step 8
To draw the legs and nose you need to use the Free Hand Tool and make it nice with the Shape Tool. In this step, we want to show you how using the same color, but in different brightness, adds more depth and dimensionality.
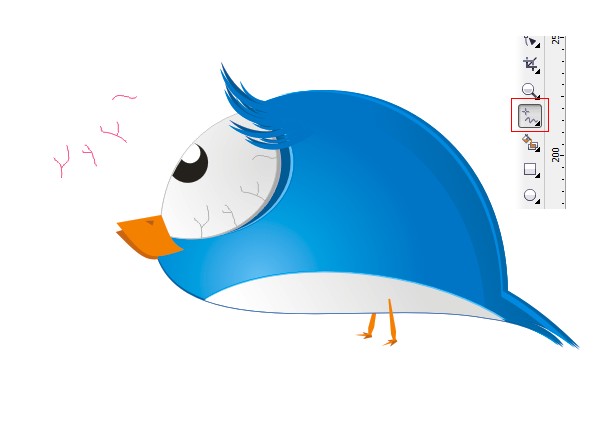
Step 9
This must be the easiest step because you do do not have to be exact. Just draw away and create some jagged shapes for the eye. The more uneven the better.
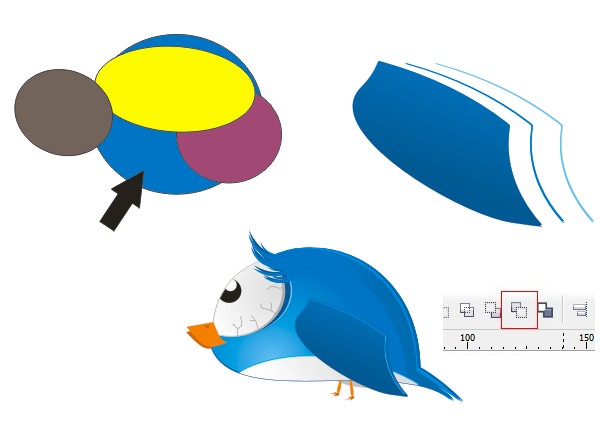
Step 10
Now let's make the wings. In the image below, you can see again how we cut the shape out of the circle using different circles. Then we rounded the corners a bit using the Shape Tool. Also, we added some light effect, just like in Step 4.
Place the wing on the bird. Also, Copy and Paste In Place the same wing, but change color to gray, move to the back, and move to the left a bit. That gives the effect of the second wing on the other side of the bird (you can see tiny gray part near the legs).
Step 11
We're almost done. The hat is a simple thing drawn using the Freehand Tool to create the shapes shown below. They each were given different brightness, fills, and a radial gradients was placed on the white stripe to add 3D.
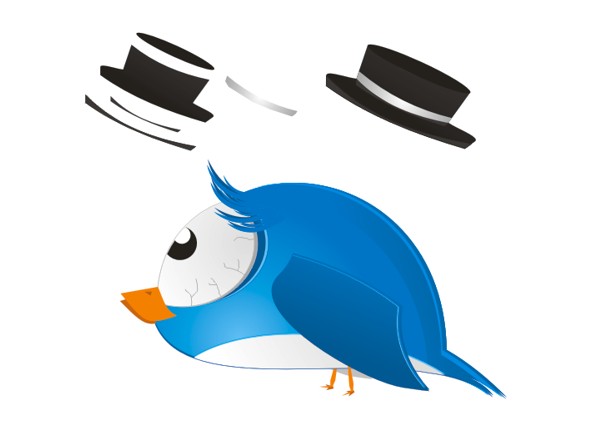
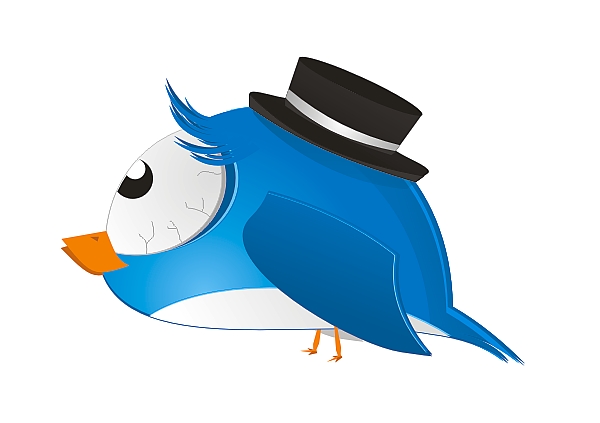
Conclusion
Place the hat on the bird. Add a dark blue ellipse under the hat (some kind of shadow of the hat). And our Quirky looking twitter bird in vectors is done!

0 commentaires:
Enregistrer un commentaire