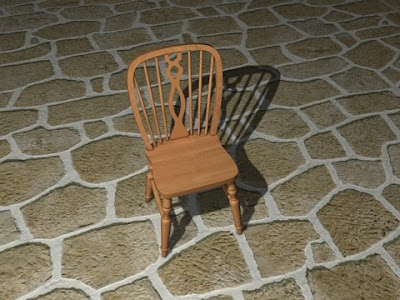
In this Cinema 4d Tutorial I'll show you how to make a chair.
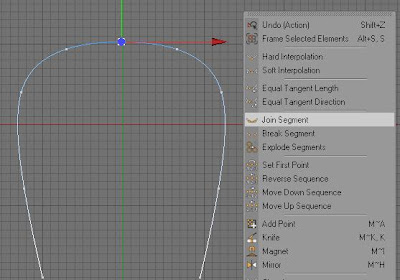
Select an akima spline and make a path. Create Second akima spline, as shown on the image. You can add some additional points selecting from context menu – Add Point.
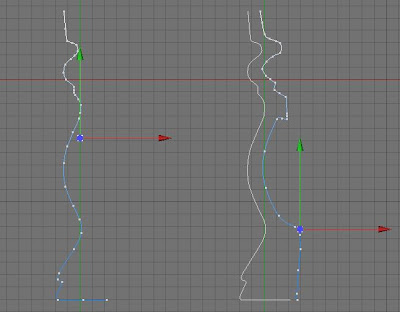
Connect these two splines to one (select two point, right click and choose Join Segment).
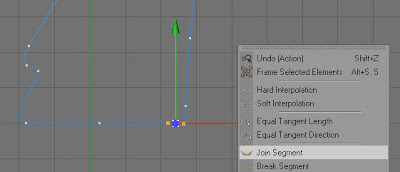
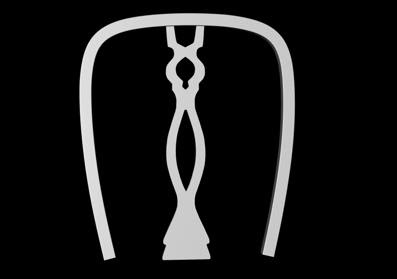
Click on the spline and check Close Spline in Object tab. Create Extrude NURBS and insert spline into it. Go to the HyperNURBS and check Fillet Cap in Start and same in End. Set both Step and Radius to 2. Make object editable. Unfold all objects, select them and connect. Now You have to use Edge Tool and select a knife. Make a cut. Select Mirror to make another symmetrical object. Name the object “Back”.
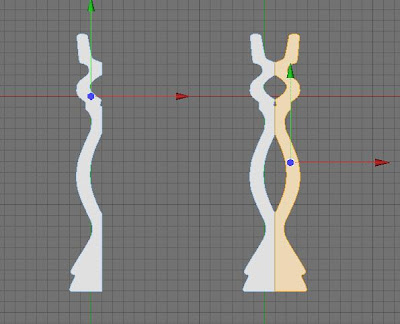
Hide the “Back” and create second spline (cubic spline). Use mirror select to point and make Join Segment. Delete two points that you have selected to make a join.
Create Rectangle and Sweep NURBS. Insert the Rectangle and the Spline into the Sweep NURBS. Set Rectangle Height and Weight to 150. Check rounding and set Radius to 8. Create a HyperNURBS and insert the Sweep NURBS inside. Set appropriate values to objects. And use Rotation Tool like on the image below.
Create next spline to make a seat. Use Mirror to make second part of the Spline.
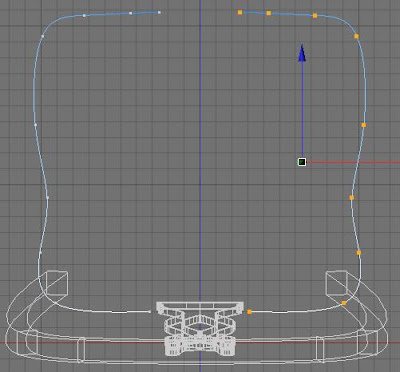
Joint Segment and close spline as you did before. Create Extrude NURBS, and insert “seat” Spline into it.
Set values:
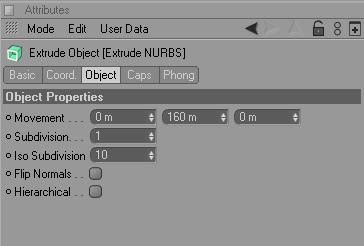
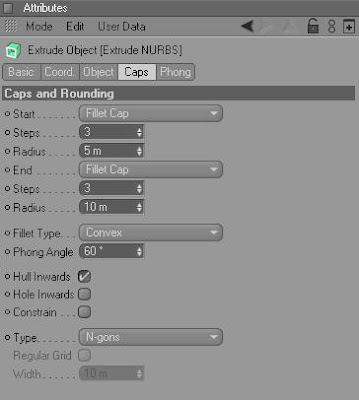
Name the HyperNURBS “Seat”. Render image.
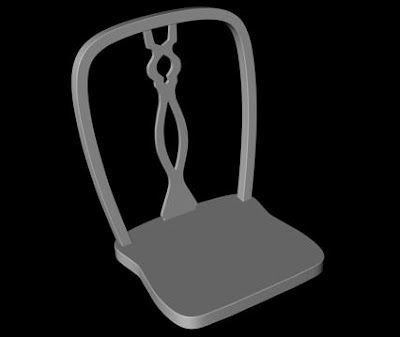
Now we will make a bar. Create Loft NURBS and 4 Circles. Name the Loft NURBS “Bar1”. Set Circle Plane to XZ. Make 3 more copies of the Circle. Create spline (select Linear), make two dot to have straight line. Use Rotate Tool to make adjustments. Make a copy of the bar and hide it, we will use it later.
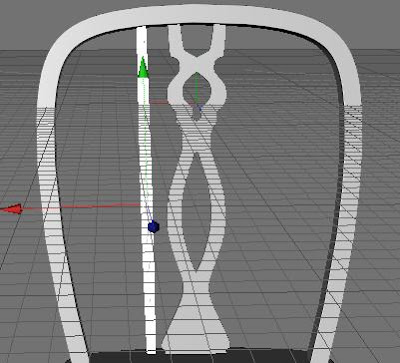
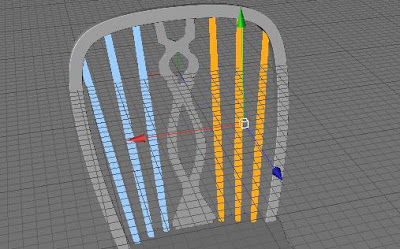
Create two more copies of “Bar1” and name it “Bar2” and “Bar3”, scale it. Make all three bars editable. Unfold all bars, select all objects inside and connect them to create one object. Name it “Bars”. Now you can use Mirror.
Now we will create legs of the chair. We will use hare Lathe NURBS. Make a spline. Create Loft NURBS. Insert spline into it. Click on the Lathe NURBS you’ve created. Choose Object Axis Tool and use arrows to model the leg. Name it “Leg”. Set P and B to 8 in “Leg”.
Make a copy to create second leg. Change B from 8 to -8. Create third and fourth leg and change angles accordingly.
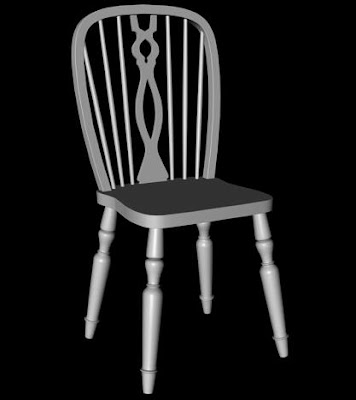
It’s time to use the bar that we have hidden earlier and modify it.
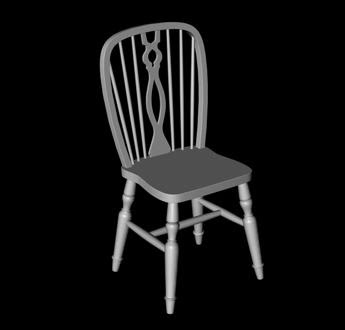
This is final image, after adding some textures
If you need some free textures you can visit Urban-Textures.


0 commentaires:
Enregistrer un commentaire