This tutorial will teach you how to model a basic face that can be used for cartoon or realistic. The purpose of this tutorial is to teach you how to create the geometry needed for modeling a head. The head we'll be modeling is completely cartoon and rather simple, but you could use this model as a base for any other model. You don't have to follow this tutorial exactly. This tutorial is only showing you the steps to create the geometry. You'll have to use your own artistic talent to decide how the head'll be shaped.
Modeling
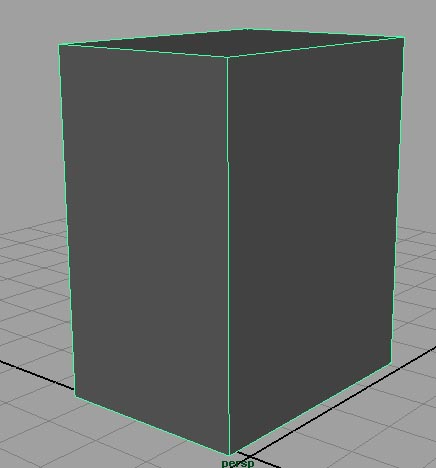
Step one - Create a cube and scale it so it's about the general proportions of a head. Since we're using a box as our base model this is classed as box modeling.
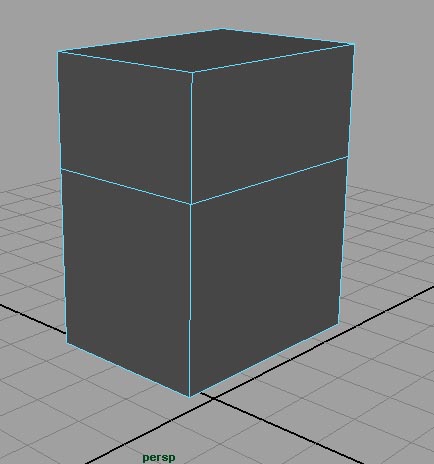
Step two - Go to edit mesh>insert edge loop. Add an edge loop a little past half-way around the cube.
Step three - Select the face where the mouth would be and go to edit mesh>extrude. Use the scale tool and move tool to position it as the lips of the model.
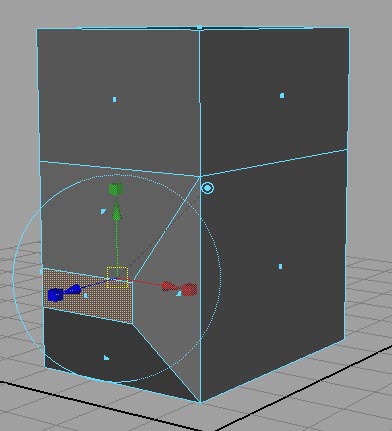
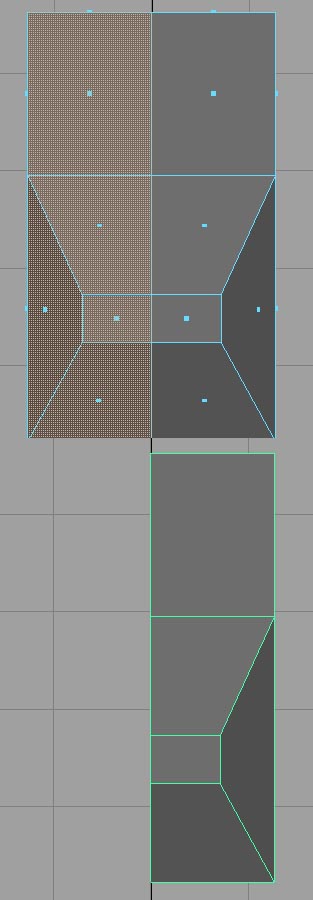
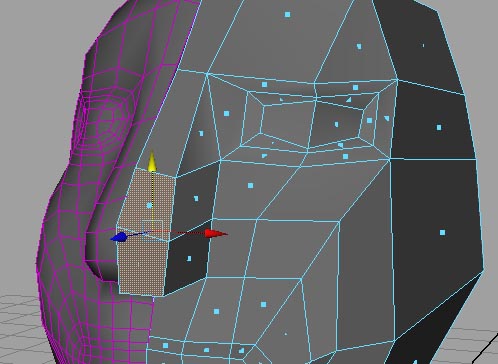
Step four - Now use the insert edge loop tool again to cut your model in half. Then right click and hold over your model and select face. This will take you to face mode. Select the faces on the left and hit delete on your keyboard.
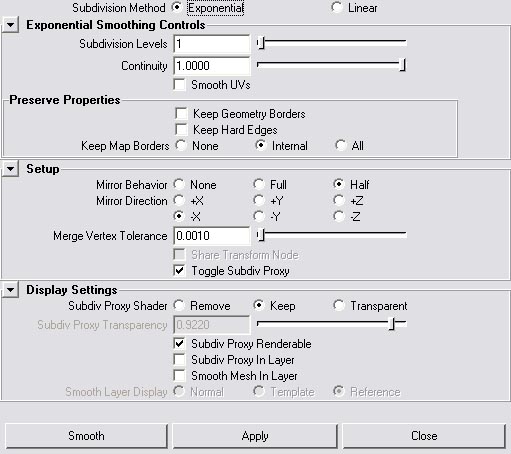
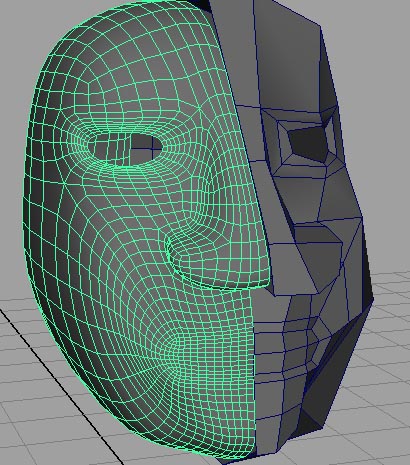
Step five - Now that you've cut your model in half, you're ready to use a smooth proxy. A smooth proxy makes a copy of your model, duplicates it to the opposite side and smooths it. Also, when you change the original side, it will update the smooth proxy. Select the head and go to proxy>subdiv proxy. Click the square beside the text. This will open up the options. Copy the options so they match the ones on the image below.
Step six - Now use the insert edge loop tool again and add an edge loop on the outside of the lips and another one going around the lower half of the head.
Step seven - Now, using those vertices's, move them around to get the general shape of the head.
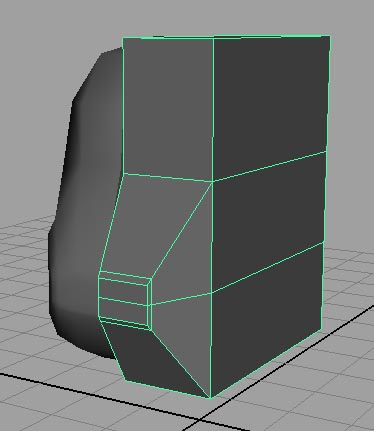
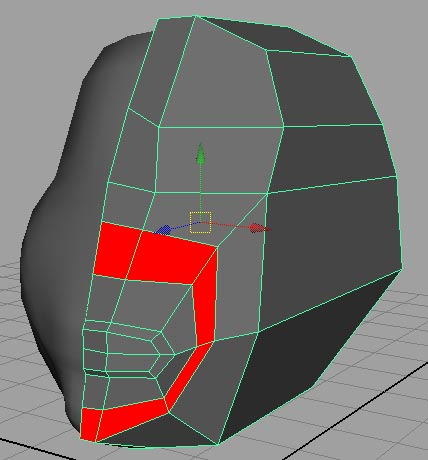
Step eight - Now use the insert edge loop tool and add two new edge loops. Copy the ones in the image (the edges are in red).
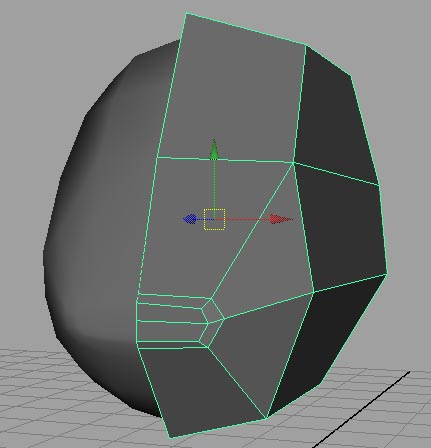
Step nine - Now add two edge loops that go around the lower half of the face. By adding two edge loops we create a new set of faces (they're in red). Shift the vertices's around until you get your desired shape. It's important that you get these pretty close to what you're looking for because this will be harder to edit later.
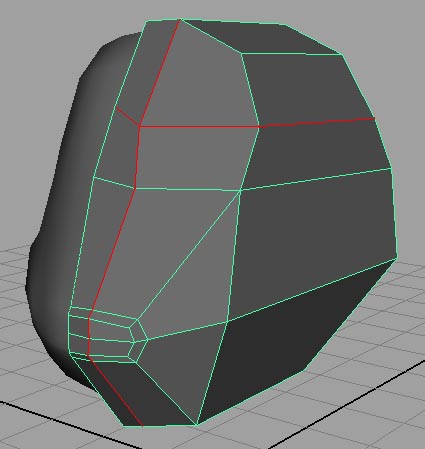
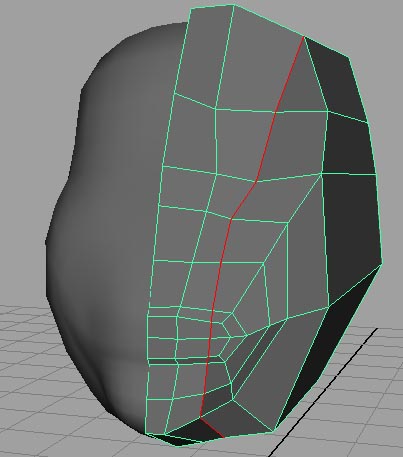
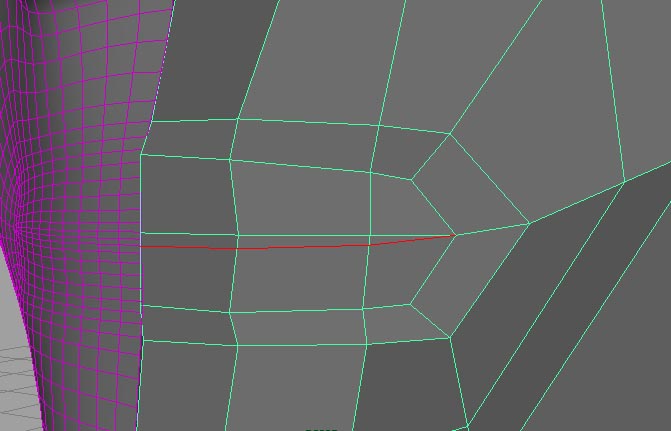
Step ten - Go to edit mesh>split polygon tool. Add an edge like the one in the image (it's red). Once again, tweak and shape your head.
Step eleven - Select the face where the eye would be and go to edit mesh>extrude. Scale it in. This will make the beginning of the eye socket.
Step twelve - Select the new face you just created and hit extrude again. If you haven't done a different command, hit G on your keyboard instead. When you hit G on your keyboard it will go back to the last tool you used. Scale it in and edit the vertices's so that it makes the general shape of an eye.
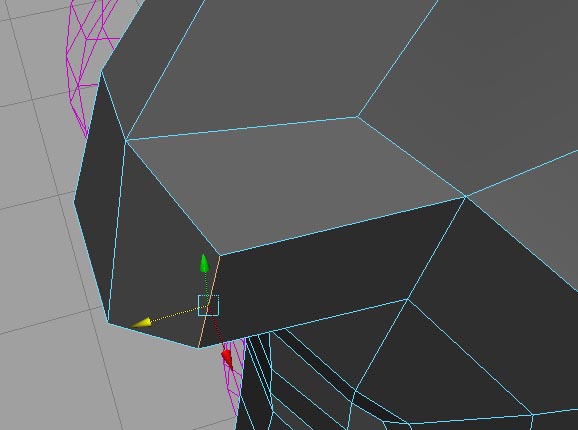
Step thirteen - Now, using the split polygon tool, add the edges that are shown in red in the image. This will be the base of our nose.

Step fourteen - Select the newly created faces and pull them out.
Step fifteen - Shape your nose until it looks good.
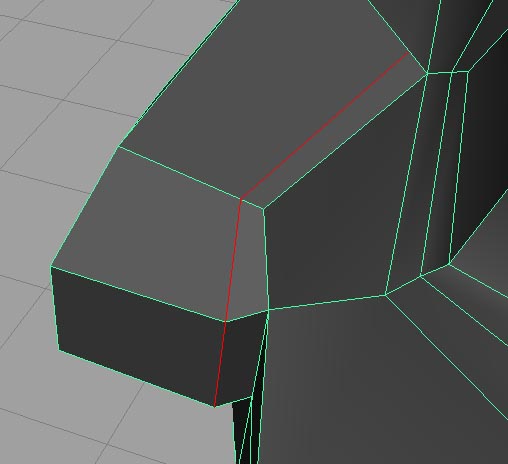
Step sixteen - Now, using the split polygon tool, add the edges that are shown in red in the image. This will be the base of our nostril.
Step seventeen - Delete the edges that are inside the red circle. And then delete the access vertices.
Step eighteen - Select the edge that was created with the split polygon tool and move it out.
Step nineteen - Add an edge loop around the base of the nose and the nostril. Shape it a bit. By adding this edge loop it gives us more control of the shape of the nose.
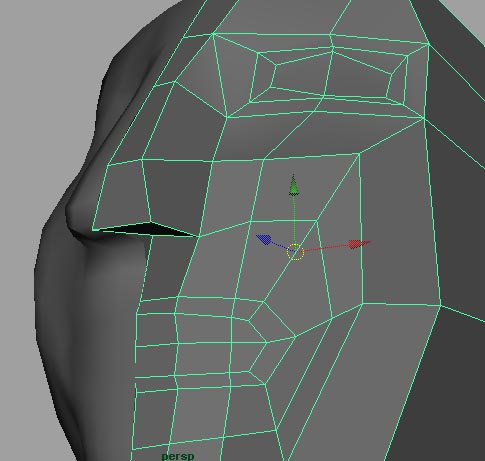
Step twenty - Okay - now our head's starting to take shape. The smooth proxy looks rather low rez, though. To fix this, select the smooth proxy side and hit page up on your keyboard. This will increase the subdividing which, in turn, increases the smoothing.
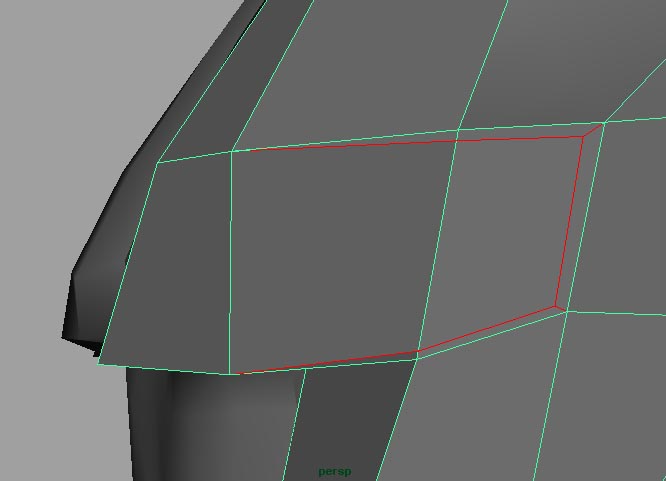
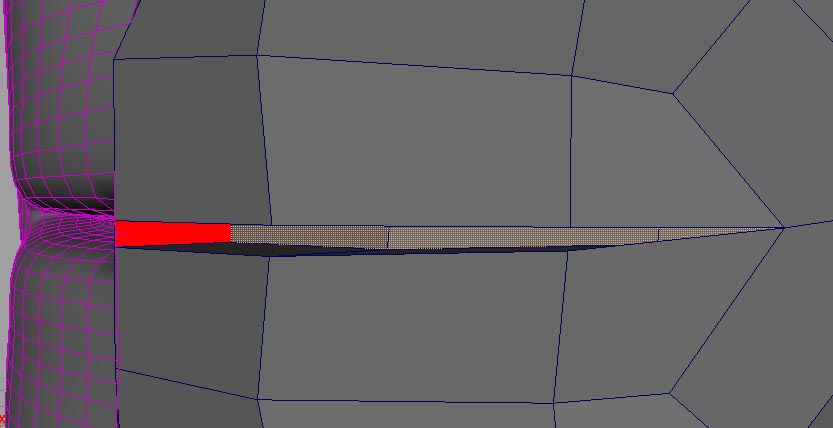
Step twenty-one - Now down to the mouth. Use the split polygon tool to add an edge to the lower lip. This will allow us to cut a hole for the moth.
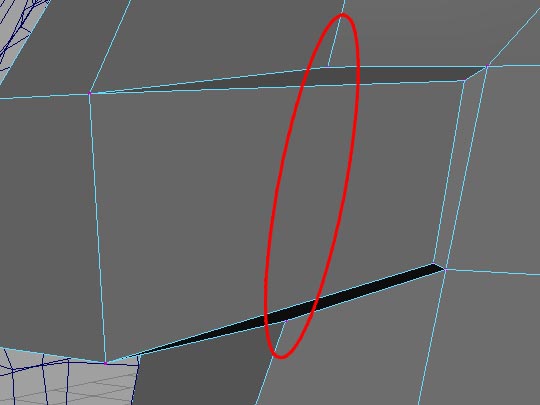
Step twenty-two - Select the newly created face and extrude it in. Delete the face that's in red. This face sits between the proxy and the model. When you delete this face you'll notice that the gap between the two objects will disappear.
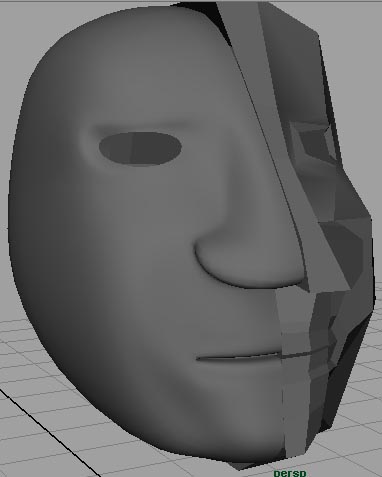
Okay; here's how our head looks now.
Notes On Head Modeling
As mentioned above, this head modeling tutorial is only to teach you how to create the proper geometry for a head. Here are some notes that will help you create a more finished head.
- Assign a blinn shader to the proxy side. Because a blinn shader has a specular to it (shininess), you can see your shapes and curves clearer. To do this, select your proxy object, go to the rendering shelf and select the blinn.

- Adding more edge loops will help you get a more defined shape.
- Work in the medium level of subdividing the smooth proxy. Sometimes models will loom great when smoothed with level one, but when smoothed with level two they start getting hideous.

0 commentaires:
Enregistrer un commentaire