This tutorial covers normals, what they are, where they're used, locked vs unlocked, and reversed normals issues.
Set-up
Set the menu set to polygons.
Basics
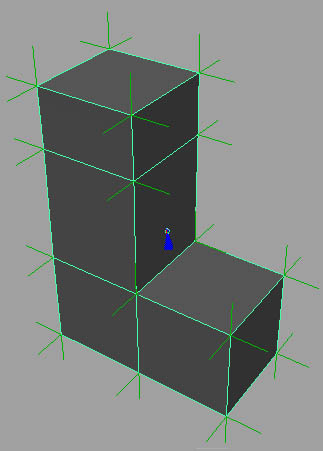
Normals are those "hairs" that stick out of your model.
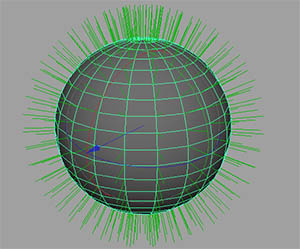
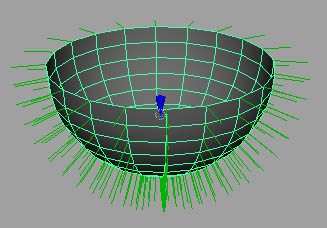
To view these hairs, go to normals>vertex edit normals tool. Every vertex has a normal.
Normals define the way the model is shaded, how its built, which faces are facing outwards, what's the front and back of the surface, etc. Without normals, all your models would be silhouettes.
Shading
Step one - Download twospheres.mb.
Step two - Open the file in Maya and go to smooth shading display.
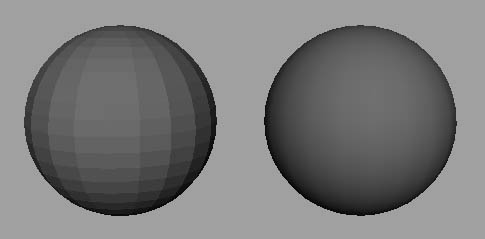
We're going to use these spheres to show the difference between the normals.
Notice how the sphere on the left seems to have more jagged edges, while the sphere on the right is smooth. The geometry is exactly the same.
This is where normals come in. The sphere on the left has its normal angle set to 0 degrees. The sphere on the right has its normal angle set to 180 degrees (the maximum normal angle is 180 because once you go past 180 it will go back to 0). The way these numbers define the way the surfaces look is because they define the way the shading bends over the geometry.
The normal angle specifies what angles will be "hard", what angles will be "soft".
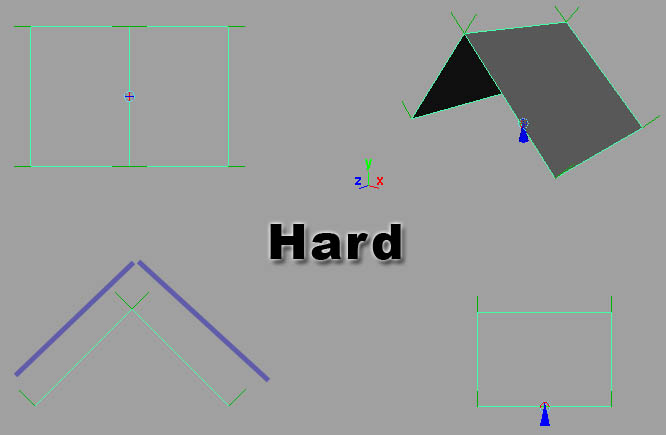
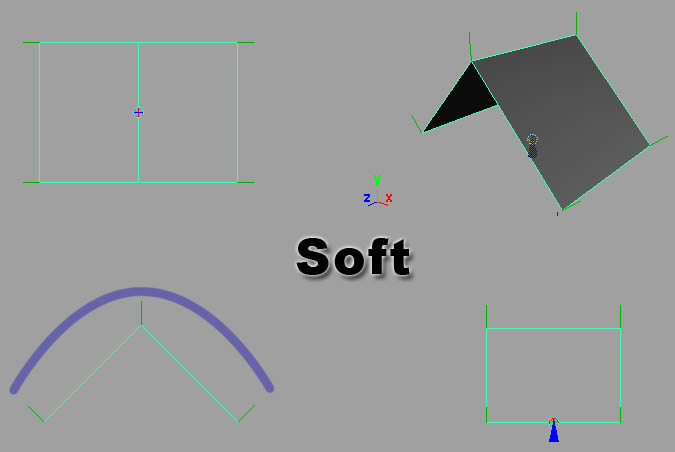
Step one - Download angles.mb.
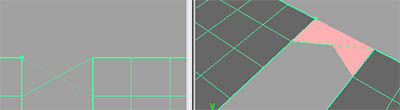
We have a poly plane that's been shaped to have different angles. We have a 90 degree angle, a 45 degree angle, and a 135 degree angle.
Step two - Go to normals>set normal angle...

Set the angle to 46. Now click OK.
Go to the vertex edit normals tool to view the normals,.
Our 45 degree angle now has soft normals. That's because it's less than 46 degrees. If we went back to the set normal angle window and set the angle to 91, our 90 and 45 degree angles would be soft. But our 135 degree angle will remain hard.
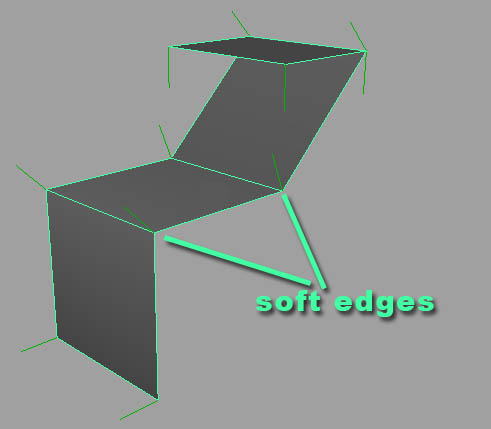
If we wanted to make the 135 degree angle soft, we'd need to set it to 136.
Reverse Normals
Reverse normals can cause many problems (tool results being inverted or failing).
Step one - Download reverse.mb.
Step two - Go to the vertex normal edit tool.
Notice how we can't see any hairs facing outwards; they're all facing inwards. To fix this, go to normals>reverse.
Another way this can affect you is when putting two pieces of geometry together when the normals aren't going in the same direction.
Step one - Download planes.mb.
Step two - Select both planes and go to mesh>combine.
Step three - Go to edit mesh>append to polygon tool and try to append the geometry together.
Not what we were looking for. Go to the vertex normal edit tool. As you can see, one of the planes normals has been reversed.
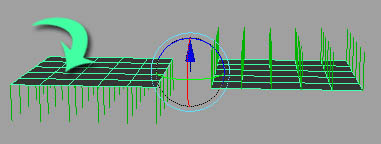
This also means that the surface's direction has been reversed. That's what caused the strange crossover effect when you were trying to append polygons.
Step four - To fix this, select the faces (F11-face mode) on the left plane and go to normals>reverse.
Step five - Go back to the append to polygon tool and re-append the faces.
Those are two easily fixed scenarios with reversed normals (also called reversed geometry, inverted geometry, backwards geometry).
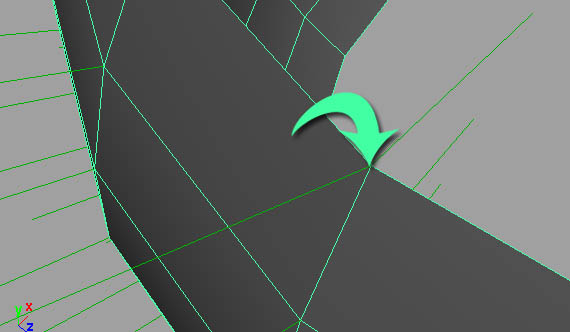
Step one - Download badsphere.mb.
Step two - Go to the vertex normal edit tool.
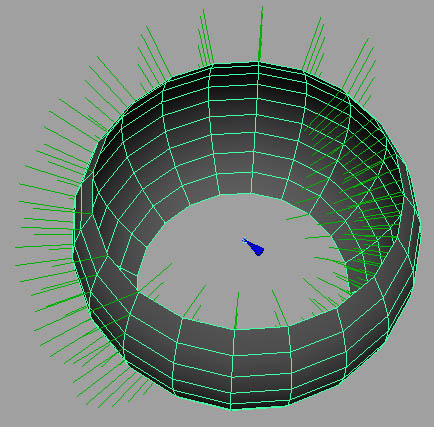
One half of the sphere's normals is going the right way, and the other half is going the wrong way. As you can see, the vertices along the edge seem to have two normals.
That may sound like I'm contradicting myself, but I'm not. Select the model, right click, and go to vertex face.
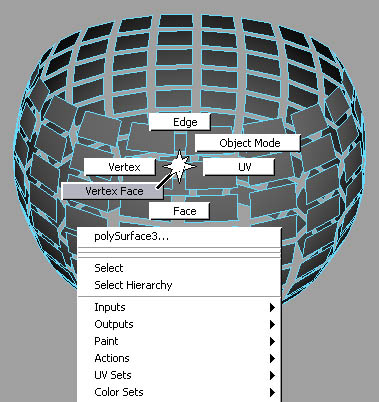
Each face has its own set of four vertices. Click on one of the face vertices and you can see that on one side, the vertices are reversed, and on the opposite side, they're going the right way.
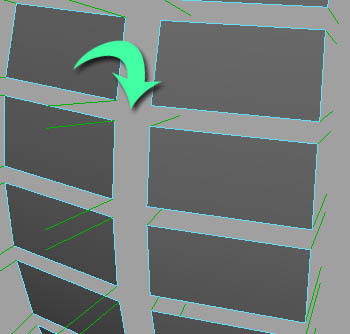
If you select all the faces and reverse them, it will break the geometry apart. So we have to re-merge the vertices.
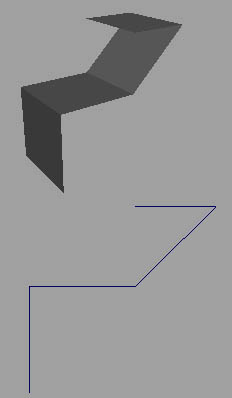
Locked And Unlocked Normals
Normals can be locked and unlocked in Maya. When a normal is locked, its angle won't change, even if the geometry shape does. This causes surfaces to look flat sometimes.
Download locked.mb
Go to the smooth shade all view. Rotate around the model. Notice how it appears flat in some areas.

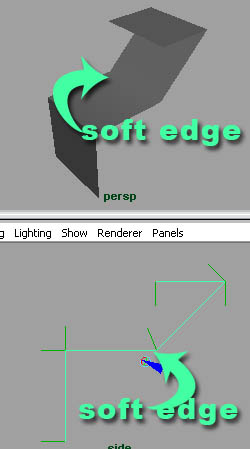
Go to the vertex normal edit tool.
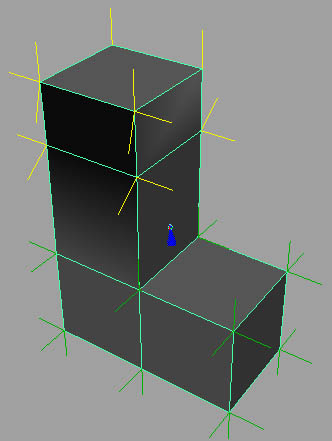
The lines that are yellow indicate that the normals there are locked. Unlocking them is pretty easy. Select the model and go to normals>unlock normals.
Normal Maps
Since normals define the shading of a model, couldn't this be texture mapped to provide false details that aren't really modeled? Yes. These are normal maps. They trick the renderer into believing there's shading there, creating the illusion of geometry.
Step one - Download normalmap.zip.
Step two - Extract the file and put the image (normal map texture) in your source images folder. If you need help on that, go to the projects tutorial on this site.tutorial link
Step three -Open the file and press 6 on your keyboard. On the view port, go to renderer>high quality rendering (for more on what we just did there, go to this tutorial Link).
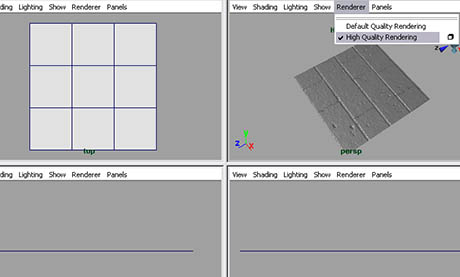
Now you can see the normal map. Even though the geometry is rather low poly, it seems to have more detail modeled into it. For more on normal maps, read this tutorial
Conclusion
Hope this tutorial has got you up to speed on normals and normal maps.
Good luck.

0 commentaires:
Enregistrer un commentaire