Step 1: Brief Overview
Using the Date object and its properties, we'll get the day, hours, minutes and seconds and use simple Math to display the obtained data in an Analog Clock. The updates will be handled by a Timer.
Step 2: Starting
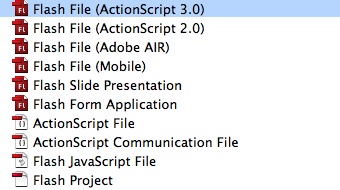
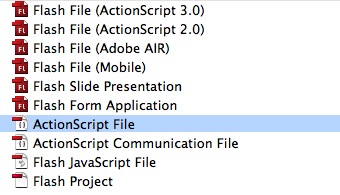
Open Flash and create a new Flash File (ActionScript 3).
Set the stage size to 640x400 and add a gray linear background (#DBDBDD, #B3B2B7). Screentime will automatically scale the movie to fullscreen so we don't have to set the stage in the full resolution.

Step 3: Clock Backgrounds
We'll begin by creating the clock background.
Select the Oval Tool (O) and draw a 250x250 px circle and add a black linear background (#313131, #000000). Use the Gradient Transform Tool (F) to rotate the gradient to look like the following image:

Create another circle, this time 248x248, with this linear gradient (#595959, #000000). Again, use the Gradient Transform Tool to rotate and adjust the gradient.

Step 4: Numbers
Now let's add numbers to our clock.
Select the Text Tool (T), pick a font of your choice and an appropriate size for the clock. I used Myriad Pro Regular, 22 Pt, #DDDDDD.
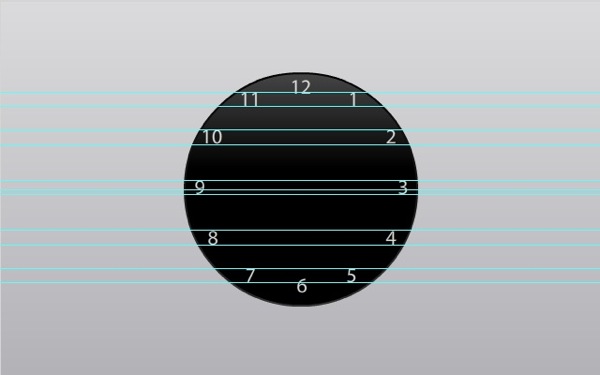
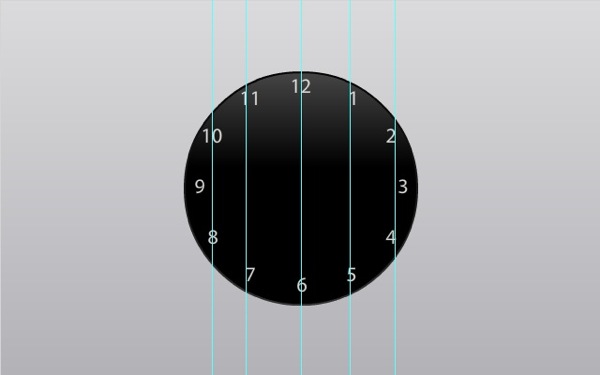
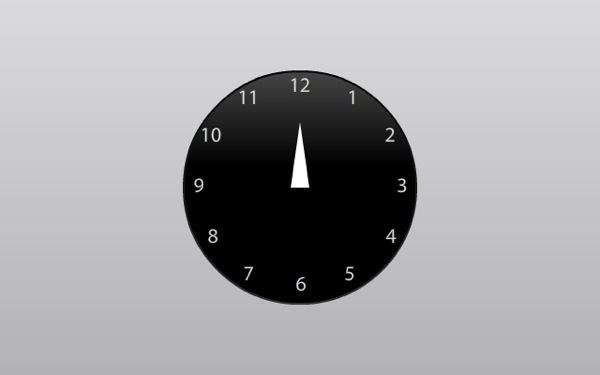
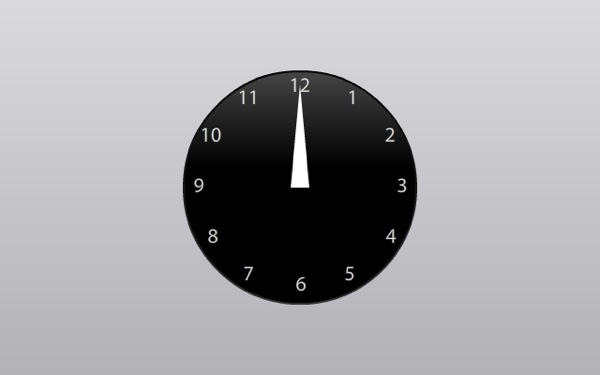
Write the numbers in one TextField for each and align them to the clock, this can be a little difficult without a reference, check the guides in the images.
Horizontal:
Vertical:
Step 5: Clock Hands
Time to create the clock hands.
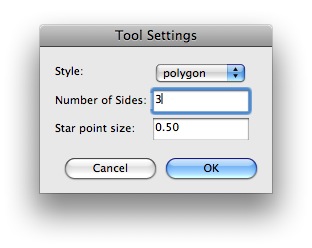
Select the Poly Star Tool (click and hold in the Rectangle Tool Button), then in the Properties Panel click the Options button in the Tool Settings section. Change the number of sides to 3.
Create a white 20x70 px triangle, convert it to a MovieClip and name it "hourHand".
Repeat this process for the minute hand, but change the height to 110 px. Remember to set the instance name to "minuteHand".
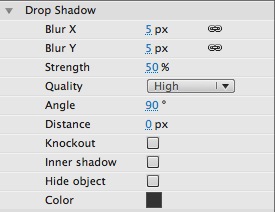
Select the Oval Tool and create a 26x26 px circle, convert it to a MovieClip and apply a filter as follows:
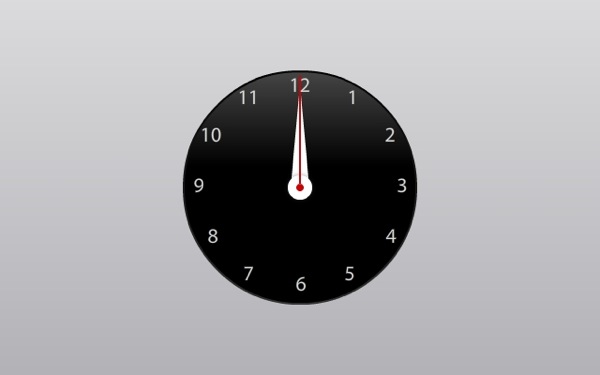
For the second hand combine a 8x8 px circle and a 2x116 px rectangle. Fill them with this color #C90303.
Step 6: ActionScript
Create a new ActionScript Document and save it as "Analog Clock.as".
Step 7: Required Classes
These are the classes we will need:
- package
- {
- import flash.display.Sprite;
- import flash.utils.Timer;
- import flash.events.TimerEvent;
Step 8: Extending the Class
We're going to use Sprite specific methods and properties so we extend using the Sprite Class.
- public class AnalogClock extends Sprite
- {
Step 9: Variables
These are the variables we will use, explained in the comments.
- /* A Date object used to get the time */
- var date:Date = new Date();
- /* Time Variables */
- var hours:int = date.hours;
- var minutes:* = date.minutes;
- var seconds:* = date.seconds;
- /* A Timer object that will handle the updates, executed every second */
- var timer:Timer = new Timer(1000);
Step 10: Main Function
This function is executed when the class is loaded.
- public function AnalogClock():void
- {
- /* This code will set the clock hands in the correct position using the Date object data */
- hourHand.rotation = hours * 30 + (minutes * 0.5);//The Hour Hand rotates 30 degrees in 60 minutes, that's 0.5 degrees per minute
- minuteHand.rotation = minutes * 6;//The Minute rotates 6 degrees per minute, that's 360 degrees in 60 minutes - an hour
- secondHand.rotation = seconds * 6;//The Second Hand rotates 6 degrees per second, that is 360 degrees in 60 seconds - a minute
- timer.addEventListener(TimerEvent.TIMER, updateClock);
- timer.start();
- }
Step 11: Update Function
This is the function that handles the Clock. It's the same code from the first functions, just executed every second by the timer.
- private function updateClock(e:TimerEvent):void
- {
- date = new Date();
- hours = date.hours;
- minutes = date.minutes;
- seconds = date.seconds;
- hourHand.rotation = hours * 30 + (minutes * 0.5);
- minuteHand.rotation = minutes * 6;
- secondHand.rotation = seconds * 6;
- }
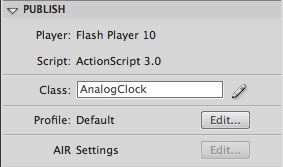
Step 12: Document Class
Go back to the .fla file and in the Properties Panel add "AnalogClock" in the Class field to make this the Document Class.
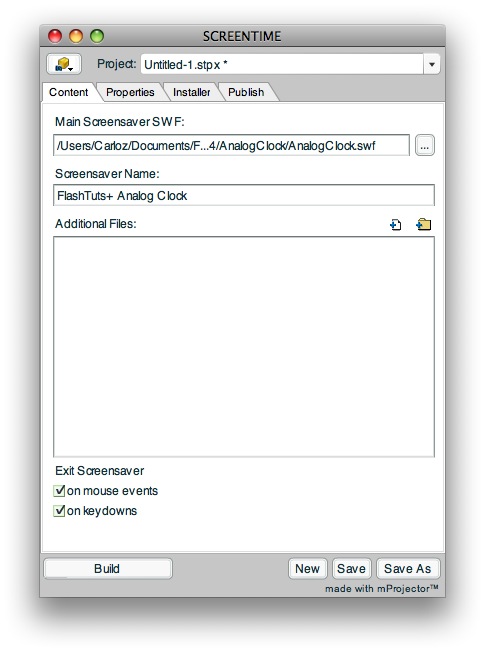
Step 13: Screentime for Flash
Screentime for Flash is a Screensaver creator tool, it's fast and easy to use. You can get a trial version from the website. The demos are fully functional, except the screen savers they build expire one week after they are created. In this tutorial I'm using the Mac version so the Screensaver will be mac-only.
Step 14: Screensaver
Open Screentime and in the Content tab, select your file by clicking in the "..." button and browsing to the swf. Enter a name for your screensaver.
Leave the Properties and Installer tabs as default and in the Publish tab name the installer, choose the options you need and click Build.
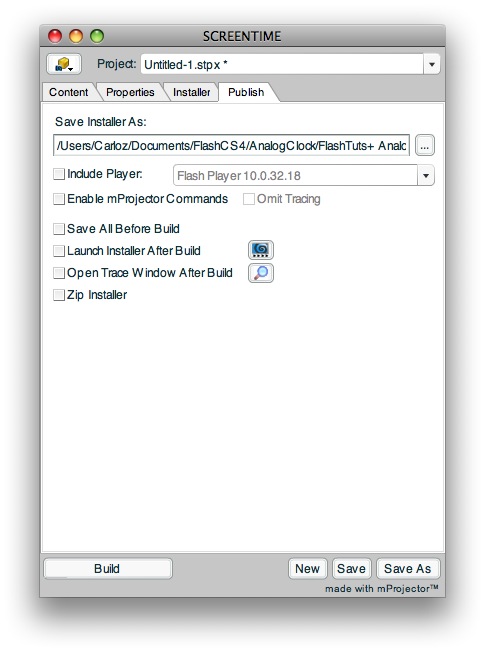
When the build is complete, open the installer app and click install. Now you can choose your flashy screensaver from System Preferences.
Conclusion
You just learn how easy is to convert flash movies or applications to screensavers, explore the Screentime application and create your own!
Thanks for reading :)

0 commentaires:
Enregistrer un commentaire