Introduction
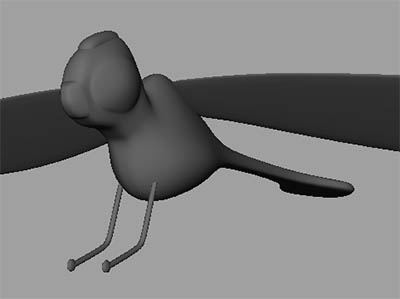
Here's where we left off.
This tutorial will be texturing and rendering our dragonfly. In this tutorial I'll try to explain the texturing process the best I can. You'll need Adobe Photoshop CS or higher to follow.
Texturing
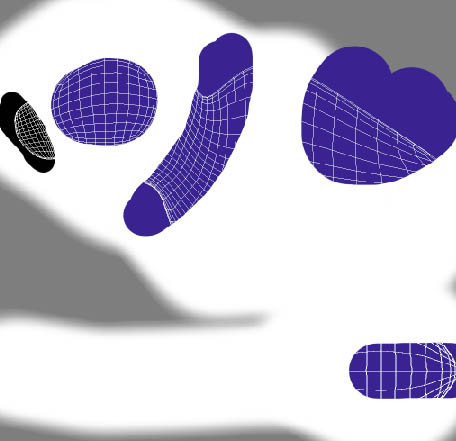
Use the image below that visually describes the texturing process.
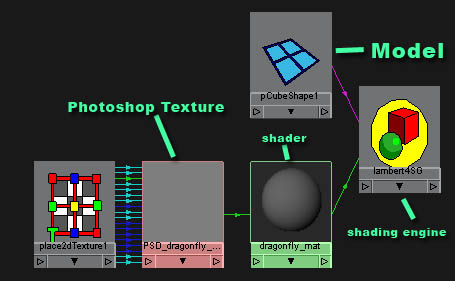
A file with the texture loaded in it is connected to the color channel of a shader. The shader is connected to a shading engine, and the model is connected to the shading engine.
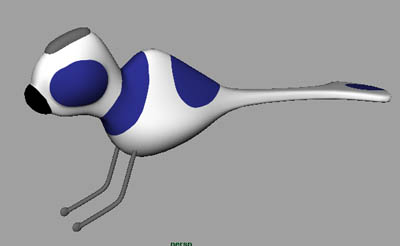
Texturing The Dragonfly
First we're going to create a bitmap Adobe Photoshop file that will contain the texture for the dragonfly.
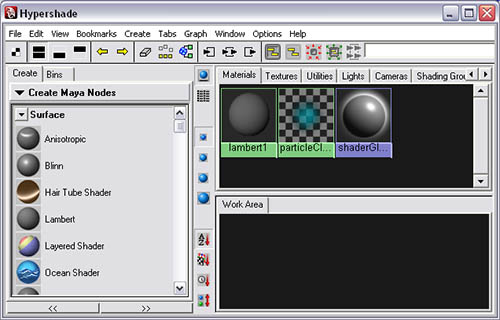
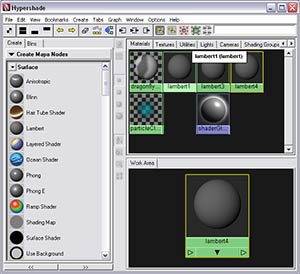
We need to open the hypershade. The hypershade is where you do all your material editing in Maya.
To open the hypershade, go to window>rendering editors>hypershade.
I have a tutorial on this site covering everything in the hypershade.Link
On the create Maya node side, click on the Lambert shader. The model has already been assigned with a shader (the default shader is Lambert1). The default shader is assigned to every model in the scene. This is a problem, considering our dragonfly's texture is not the same texture for the entire scene. So that's why we created a new Lambert shader specifically for the dragonfly.
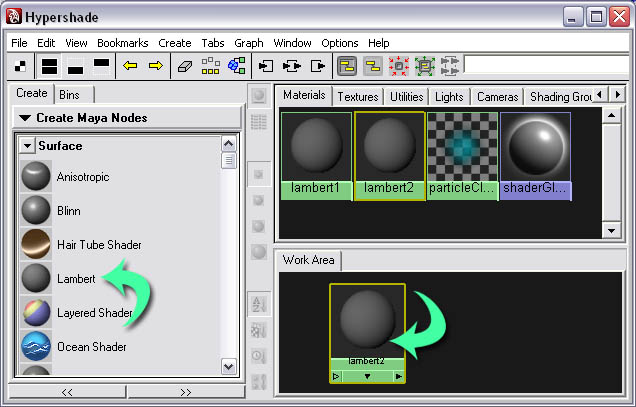
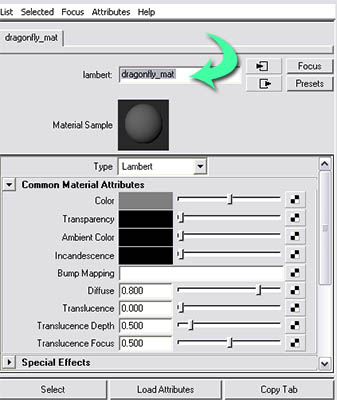
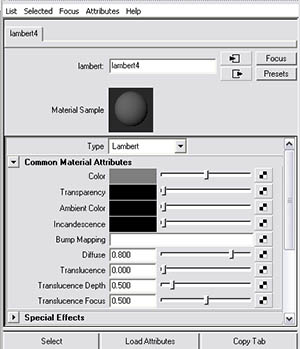
Select the new shader and open the attributes editor.
We want to change the name of the shader to dragonfly_mat.
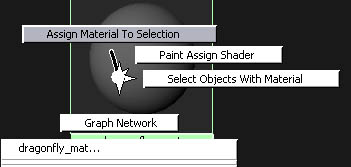
Select your model in the view port and right click and hold on the shader and click assign material to selected.
This connects the model to the Lambert's shader engine. We don't need to create our file node that will connect to our color because Maya has an automated feature to do this for us.
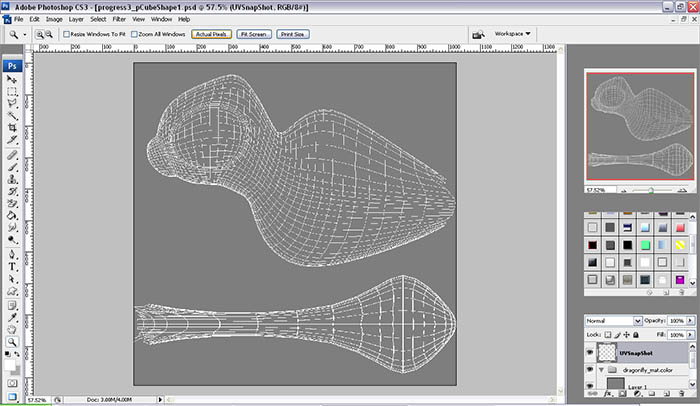
Select your model and go to texturing>create PSD network...
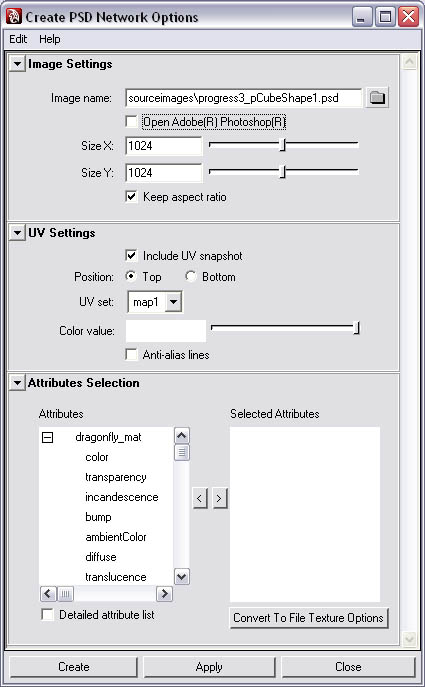
First we need to set the size of our texture. Since this is a bitmap image we'll be creating, the larger the image, the more pixels we'll have to paint on, in other words, adding more detail to the texture. Since this is a basic texture, we'll only need a1024 by 1024 image.
Make sure that "include UV snapshot" is checked and its position is set to top. The rest you can leave to their default settings.
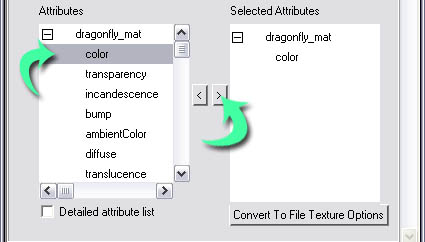
Now for the attributes selection. Our dragonfly_mat is already loaded here. We want to create a color texture map, so click color, then click on the arrow that loads it into the selected attributes.
Now roll back up to the top and check open Adobe(R) Photoshop(R). That way, when the texture is created, it will load it into Adobe Photoshop for us.

Now click create.
Painting In Adobe Photoshop
Now that we have Adobe Photoshop open, it's time to start texturing.
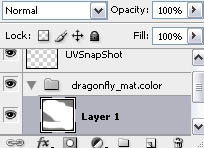
We'll be painting our texture on layer 1 inside the group dragonfly_mat.color. We have to paint only on layers inside the group dragonfly_mat.color. This is because when Maya sources the texture, it connects to that group in the Adobe Photoshop file. Anything outside the group will be ignored.
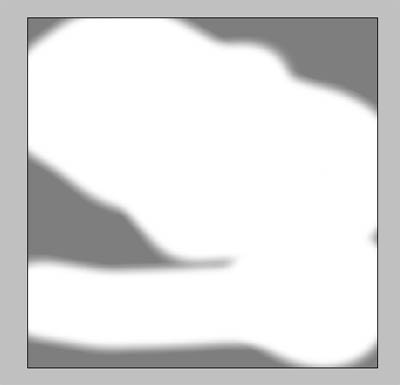
This tutorial assumes that you have a basic knowledge of Adobe Photoshop. You can texture this any way you want to, but to get the same result that I did, first fill the background in with white.
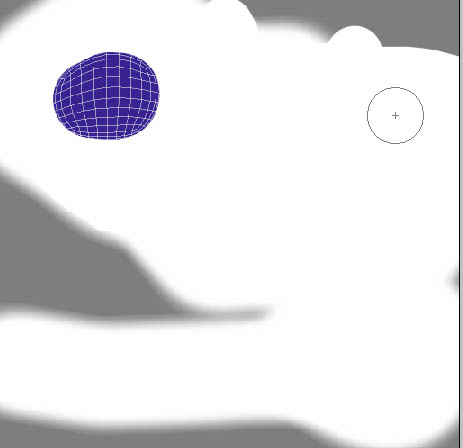
Now fill his eyes in with purple.
Add more purple on the body.

Fill the nose in with black.
When you're done texturing, save.
Back To Maya
After you've saved the Adobe Photoshop file, go back to the Maya window and select the model and go to texture>update PSD networks.
As you tweak your texture, you're probably going to want to see the texture in the view port. So go to shaded display mode and, on the view port menu, go to shading>hardware texturing.
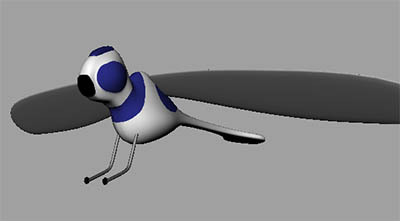
Now it's time to make materials for other objects. First we'll create the wings' shader.
Create another Lambert.
Select the new Lambert shader and open the attributes editor.
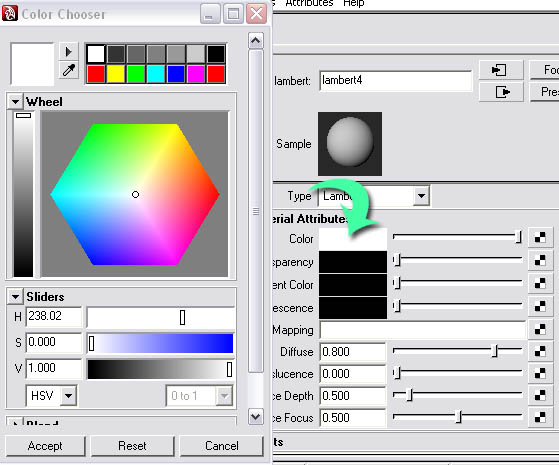
Click on the color swatch; the color chooser will come up. Set the color to white.
Now select the wings and right click on the shader and assign the shader to the object.
Now for the glowing headpiece.
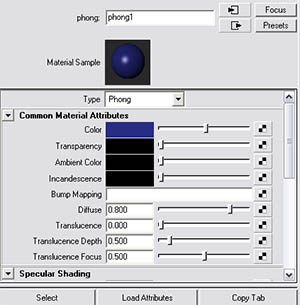
Create a phong shader. This shader has a shine somewhat similar to plastic. Select it and open the attributes editor. Change its color to purple, the same color you used on the body of the dragonfly.
To add the glow effect, roll down to special effects and set the glow intensity to.4.

Now select the headpiece and assign the shader to the headpiece.
Now create a blinn shader (a blinn shader is similar to metal). Assign the shader to the legs of the model.
Last, create a Lambert shader, set the color to dark gray, and assign it to the feet.
Now we're ready for rendering.
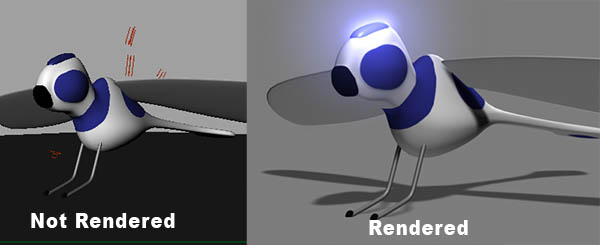
Rendering uses lights and a rendering software to convert your 3D model into a 2D rendered image of your model. The rendered image of your model looks better than what your model would look like in the view port.
First let's create lights for our rendering. First you may want to read this tutorial on lights. Link
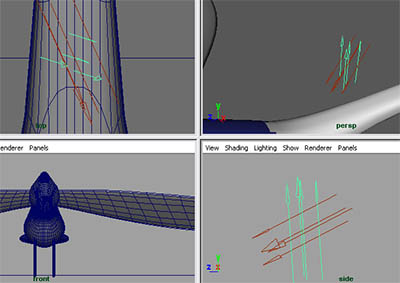
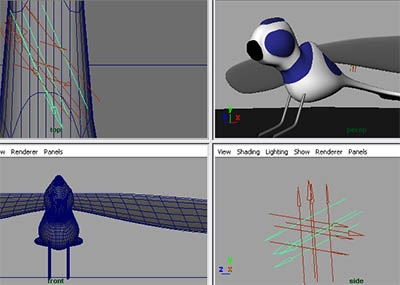
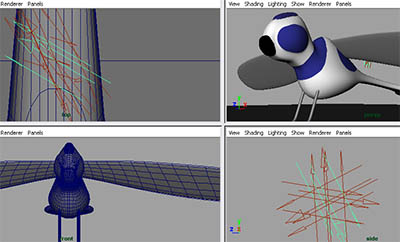
Go to create>lights>directional lights. Select it and rotate it like in the image below. Directional lights, unlike other lights, aren't affected by their position in the scene, only the direction it's pointing.
We need to change the intensity of the light, so select the light and open the attributes editor.
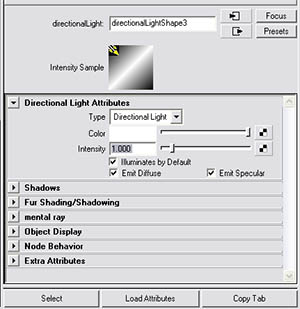
Set the intensity to 1.405.
Create another light and rotate this one so it's coming up from underneath.
Set its intensity to 0.496.
Create another light and set this one coming in on an angle similar to the angle of the camera when you render your scene.
Set this light's intensity to 0.248.
Create another light and angle this one so that it comes in from a general downwards direction. Set it's intensity to 0.826.
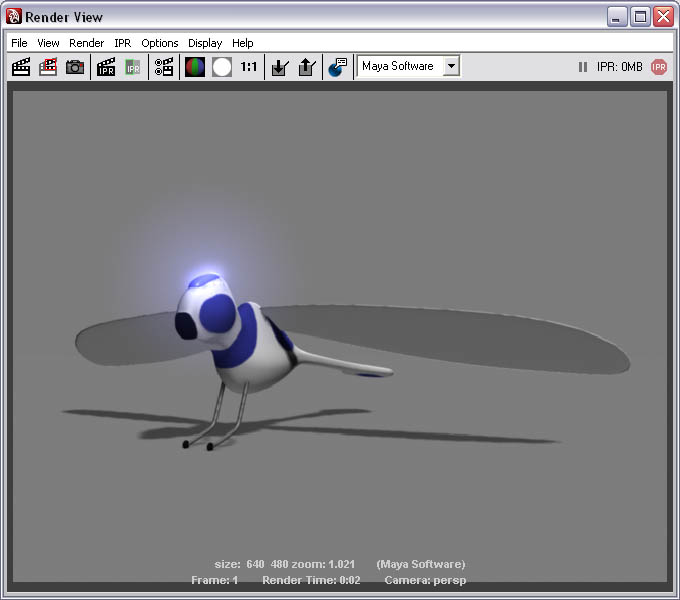
Now do a quick test rendering. To render a scene, go to render>render current frame.
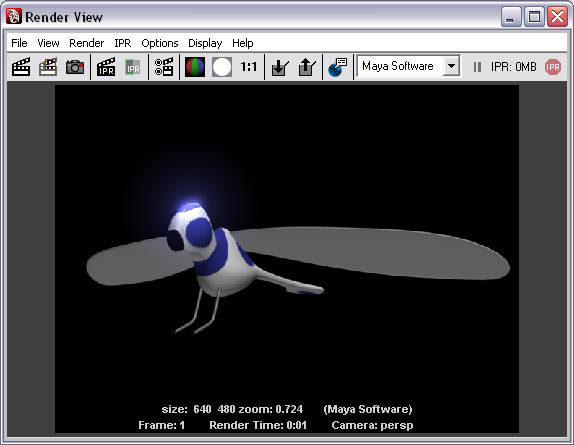
Now time to fix the background. First we want to create a polygonal plane to act as the floor for the dragonfly to sit on. Go to create>polygonal primitives>plane. Position it under the dragonfly and scale it extremely large.
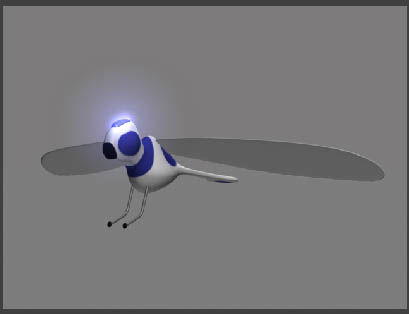
Now we need to change the background color to gray instead of black.
On the view port menu set go to view>select camera. Open the attributes editor.

Roll down to environment. Set the background color to roughly 50% gray.

Now render.
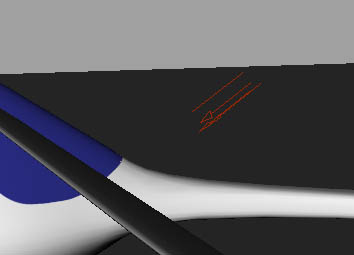
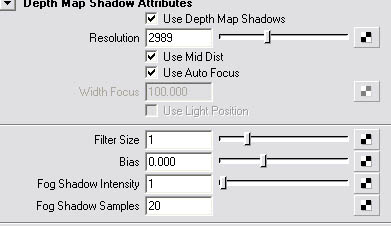
It needs shadows. Select the light coming in from the general angle and open the attributes editor. Roll down to shadows, depth map shadows. Check "use depth map shadows". Increase the resolution to 2000.I have a Tutorial on shadows here.LINK
Take a test render.
Now we're done.
Conclusion
This tutorial series has covered modeling to final rendering. I hope this has taught you how to start your own models. Good luck.

0 commentaires:
Enregistrer un commentaire